

We can create or print a mailing list by using Microsoft Excel to keep it organized. In this tutorial, we will learn how to use a mail merge in making labels from Excel data, set up a Word document, create custom labels and print labels easily.
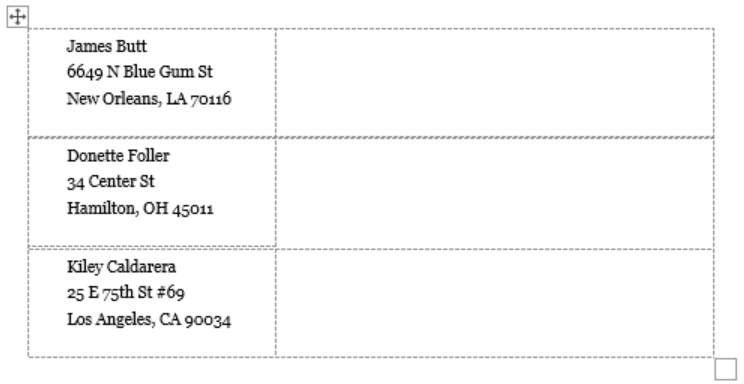 Figure 1 – How to Create Mailing Labels in Excel
Step 1 – Prepare Address list for making labels in Excel
- First, we will enter the headings for our list in the manner as seen below.
First Name
Last Name
Street Address
City
State
ZIP Code
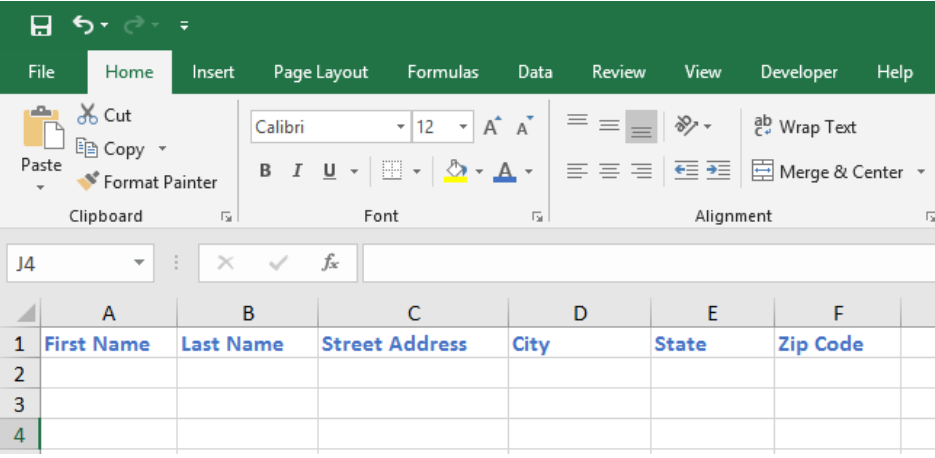 Figure 2 – Headers for mail merge
Tip: Rather than create a single name column, split into small pieces for title, first name, middle name, last name.
- Next, we will fill in our data (Format the Zip Code column to enter numbers as text)
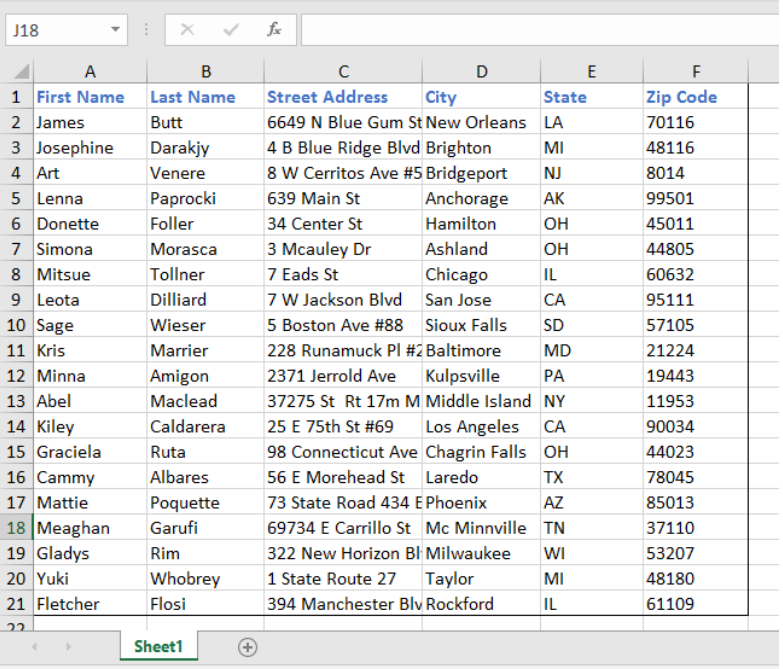 Figure 3 – Create labels from excel spreadsheet
- We will select the address list including column headers and go to Formulas. In the Defined names group, we click on Define name.
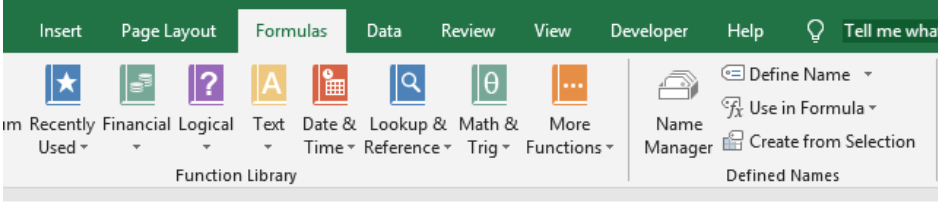 Figure 4 – Define Name for mailing labels from excel
- We will type in a name for our address list in the Name box.
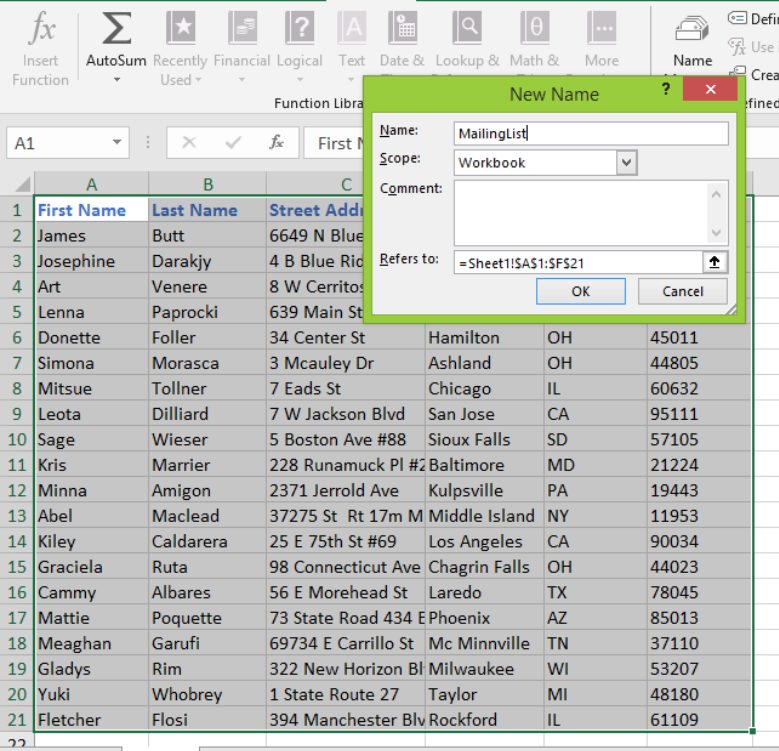 Figure 5 – Name address list for labelling in excel
- Once we are done, we will save our Excel worksheet.
Step 2 – Set up the Mail Merge document in Word
- We will open a blank Word document in Ms Word 2007, 2010, 2013 or 2016
 Figure 6 – Blank word document to convert excel to word labels
- We will go to the Mailings tab, select Start Mail Merge and click on Step by Step Mail Merge Wizard.
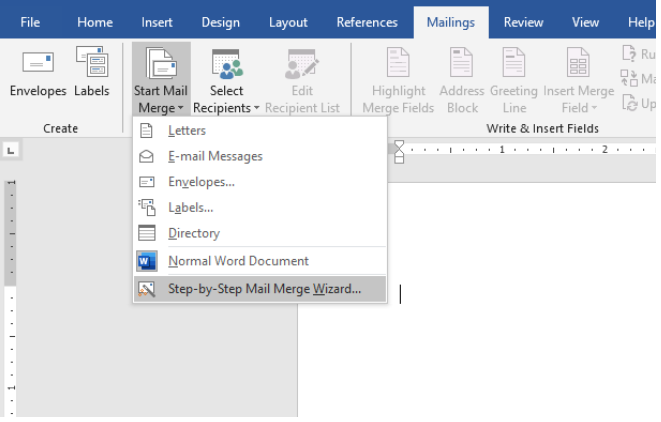 Figure 7 – How to make labels from excel
- We will now see the Mail Merge pane at the right of our screen.
 Figure 8 – Mail Merge pane for making mailing labels
- We will select Labels and click on Next: Starting document link
- We will select Change document layout because we want to create a new sheet of mailing labels (we can also click start from existing documents or use the current document if we wish to add to an existing list of labels).
- Next, we will click on Label options.
 Figure 9 – Excel to labels for Mail Merge
- In the label options dialog, we will select the needed options including;
- Printer information
- Choose supplier of label sheets under label information
- Enter product number listed on the package of label sheets
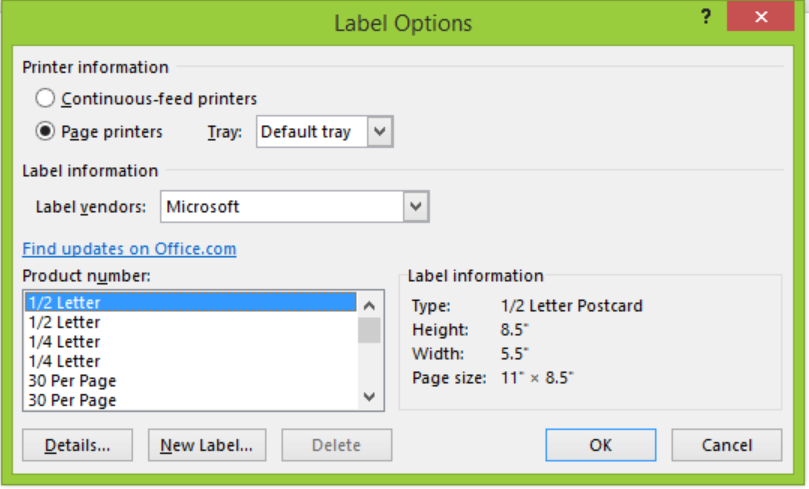 Figure 10 – Adjust size of labels for converting excel to word labels
- Next, we will click Details and format labels as desired.
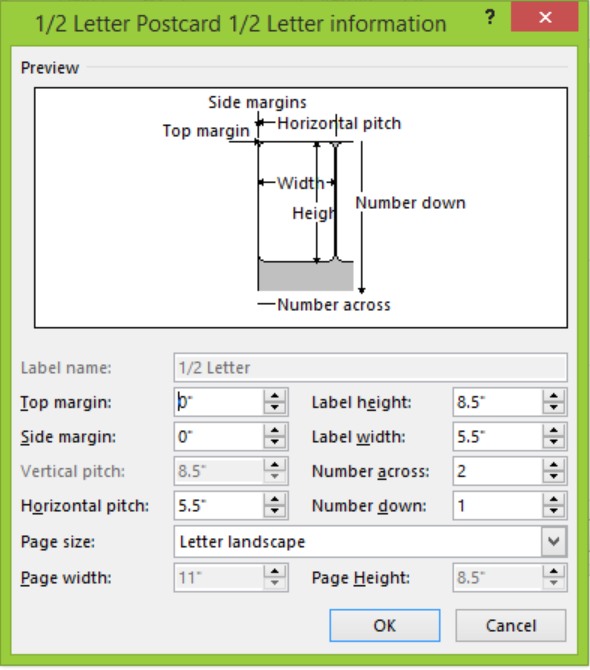 Figure 11- Format size of labels to create labels in excel
- We will click OK to go back to the Labels options dialog box. We will click OK to go back to the Mail Merge window and then click Next:Select recipients
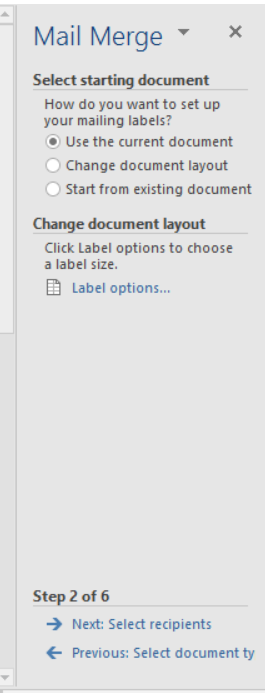 Figure 12 – How to make mailing labels
Step 3 – Connect Worksheet to the Labels
- We will go to Select recipients and choose use an existing list
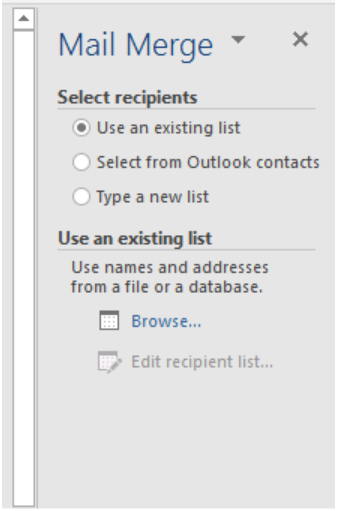 Figure 13 – How to create labels from excel
- Next, we will click the Browse button and locate our excel worksheet
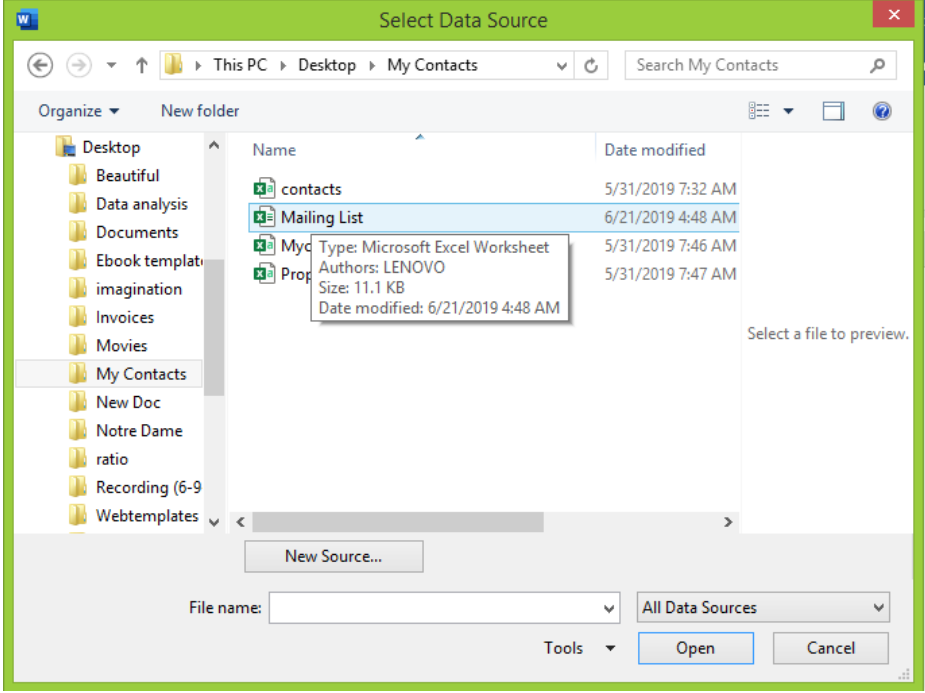 Figure 14 – How to create address labels
- We will select the Defined name for our Address list mark “first row of data contains column headers” and click OK.
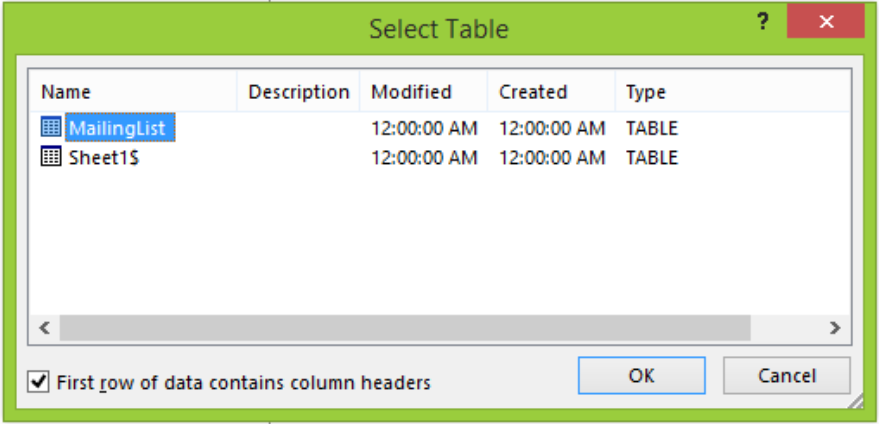 Figure 15 – Create Address labels from excel
Step 4 – Add Recipients for Mail Merge
- In the Mail Merge Recipients Window, we will clear the checkbox next to the names for the recipients we don’t want in our labels. Here, we can filter recipient list to remove blanks or sort according to a specific category such as region.
- After checking the list, we will click OK.
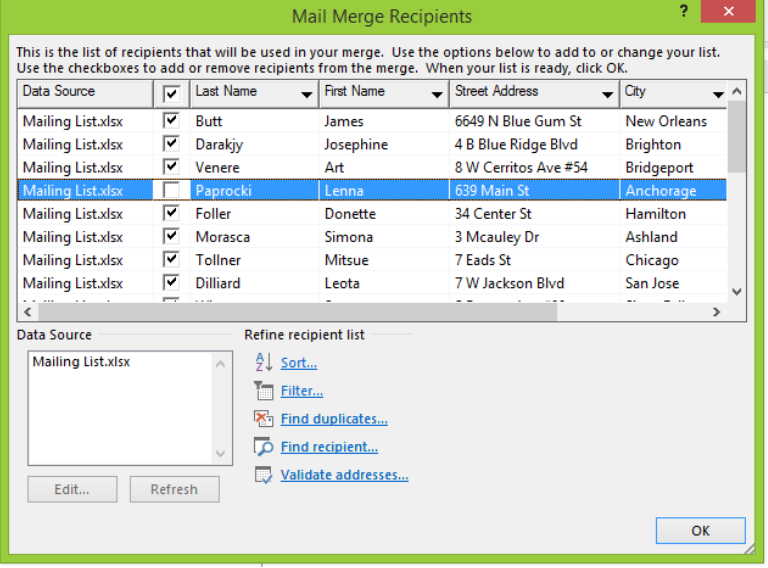 Figure 16 – How to create labels from excel
- In the Mail Merge pane, we will click Next: Arrange your labels.
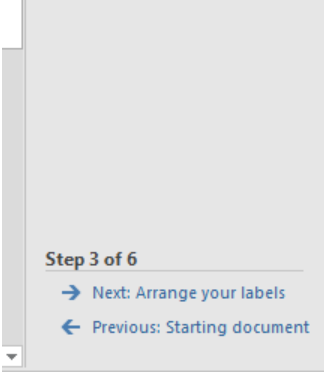 Figure 17 – Arrange Address labels from Excel
Step 5- Arrange layout of Address labels.
- In the Mail Merge pane, we will click on Address block
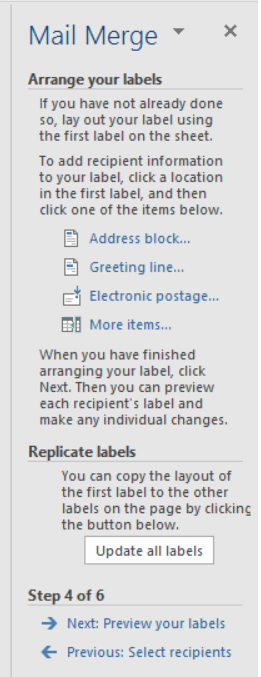 Figure 18 – Excel Spreadsheets to labels
- In the Insert Address block dialog window, we will click on desired options and check the result under the preview section before selecting OK.
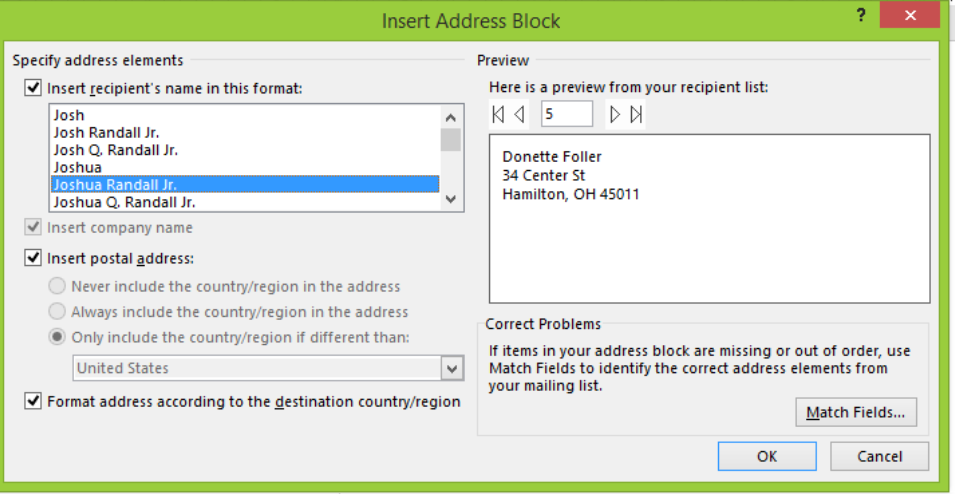 Figure 19 – Create labels from excel spreadsheet
- After we are done, we will click OK and in the Mail Merge pane click Next:Preview your labels.
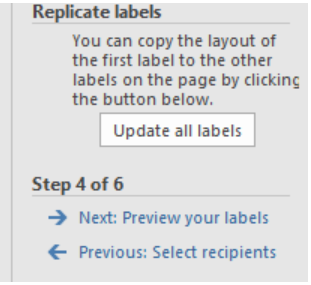 Figure 20 – Preview labels to Create address labels from excel spreadsheet
Step 6 – Preview mailing labels
- We will click right or left arrows in the Mail merge pane to see how the mailing labels will look.
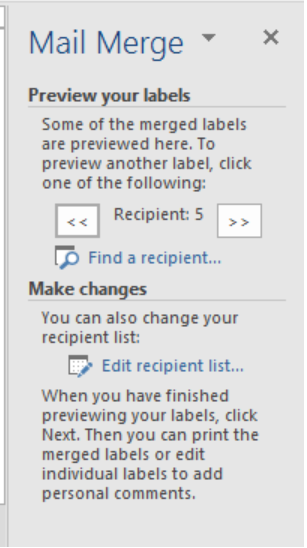 Figure 21 – Preview labels for making mailing labels from excel
- As we click the arrows, we will find the preview in our Word document
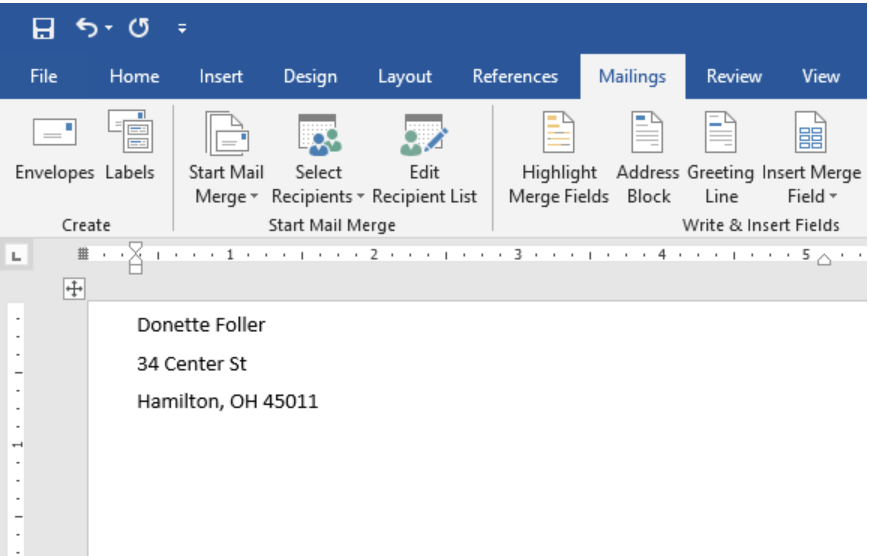 Figure 22 – Preview pane for mailing labels
- If we want to change the font type, color or size, we will highlight the preview, go to the Home Tab and change as desired
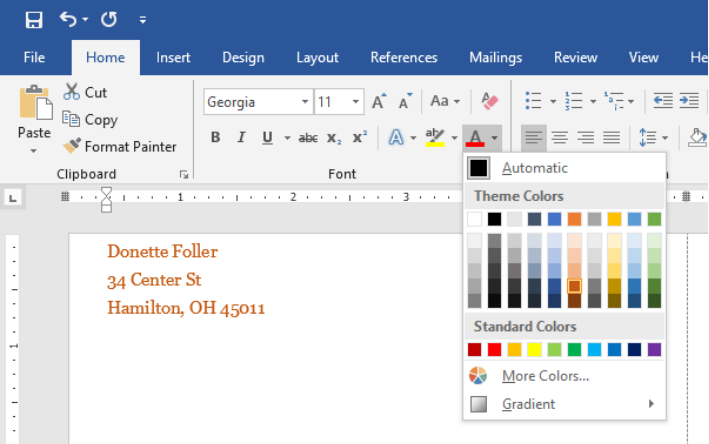 Figure 23 – Format Address labels
- Once we are satisfied, we will click Next:Complete the merge
Step 7: Print labels
- We will click on Print in the Mail Merge pane
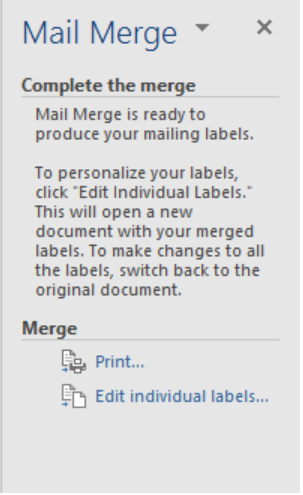 Figure 24 – Print labels from excel
- We will decide whether to print all or select particular labels.
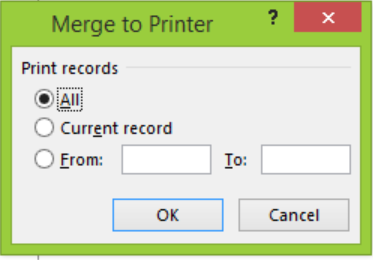 Figure 25 – How to print labels from excel
Step 8: Save labels for later use
We can save labels so we can use them in the future. For this function, we have two options.
A. We can click on the Save button and save the word document in the normal way. The Mail Merge document will be saved and connected to the Excel Source file in an “as-is” format. Using this format means that all future additions to our Excel file will quickly reflect in the Mail Merge.
B. If we do this, when next we open the document, MS Word will ask where we want to merge from Excel data file. We will click Yes to merge labels from Excel to Word.
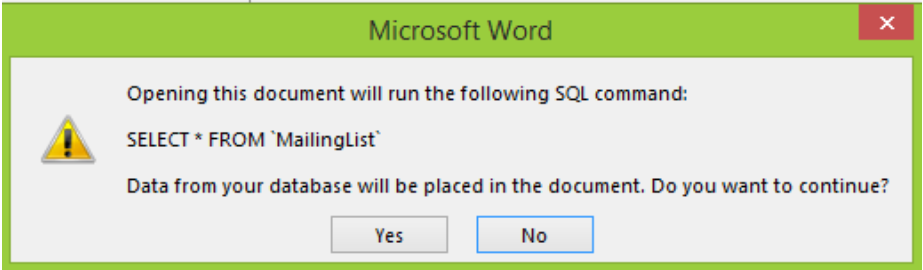 Figure 26 – Print labels from excel
(If we click No, Word will break the connection between document and Excel data file.)
C. Alternatively, we can save merged labels as usual text. When we use this format, Excel will save our labels as a normal word document without linking to the Excel source file. To do this, in the Mail Merge pane, we will click on Edit Individual labels.
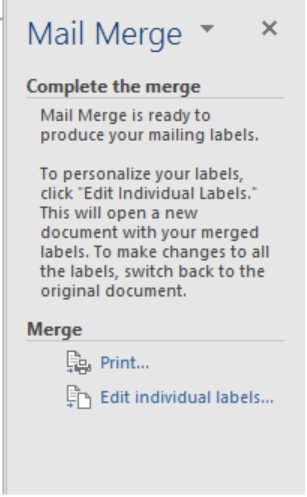 Figure 27 – Print labels from excel
a. In the Merge to New Document dialog box, we will specify the labels we want to merge and click OK.
 Figure 28 – Mail Merge saving as text
b. Then save document as the usual Word document.
Instant Connection to an Excel Expert
Most of the time, the problem you will need to solve will be more complex than a simple application of a formula or function. If you want to save hours of research and frustration, try our live Excelchat service! Our Excel Experts are available 24/7 to answer any Excel question you may have. We guarantee a connection within 30 seconds and a customized solution within 20 minutes.


Leave a Comment