

Although Excel is mainly used for numbers and formulas, it also features a drawing tool that enables us to insert pictures, lines and shapes. This article provides a step-by-step tutorial on how to draw lines.
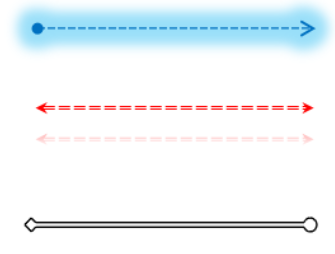 Figure 1. Final result: How to draw lines
How to draw a line?
In order to draw a line, we make use of the drawing tool:
- Click Insert tab > Shapes > Lines
From the drop-down menu, we choose the type of line we want to insert. The choices in the menu are: Lines, Arrows, Curves, Free-form and Scribble.
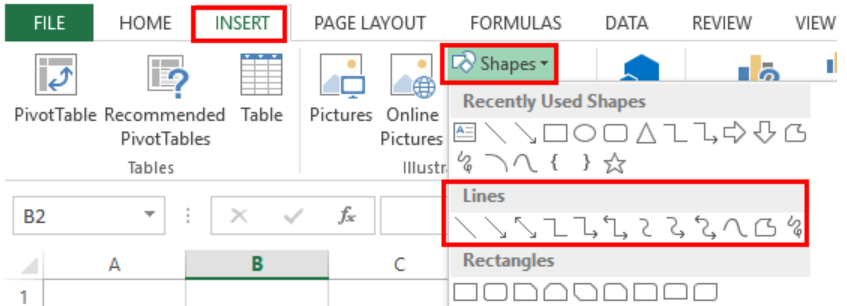 Figure 2. Lines option in Shapes menu
- Select the first line button
- The mouse pointer will then show a plus “+” sign. We click the mouse button anywhere on our worksheet where we want to place our line, then hold and drag it until the desired length and orientation is achieved
- Release the mouse button
We have now successfully created a line through the drawing tool. The image below shows a diagonal line.
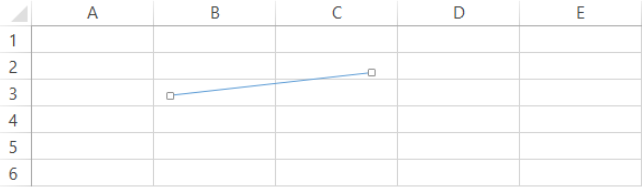 Figure 3. Output: How to draw a line
Draw a perfectly straight line
If we want to draw a perfectly straight line, we have to drag the line to the right and keep a straight line as we move the cursor across the screen. There are times, however, when we still end up with a slightly slanted line even when we have diligently tried to make the line straight.
Below image is an example of a slanted line with a height of 0.05 cm.
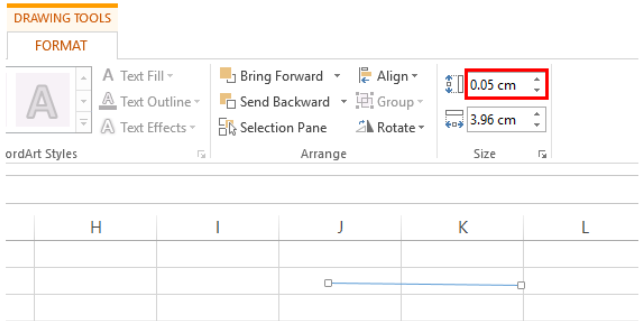 Figure 4. Slanted line height preview
A perfectly straight line must have zero height. Hence, we can make any horizontal line straight by changing the height to zero “0 cm”.
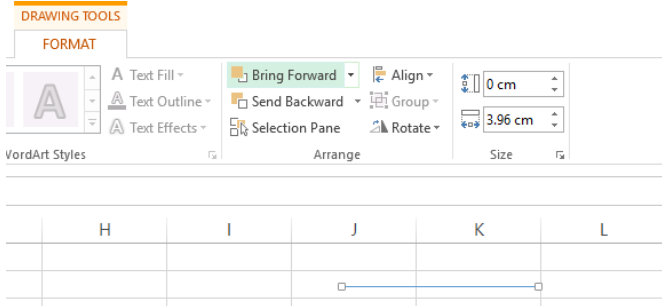 Figure 5. Perfectly straight line with zero height
Tip:
While drawing a line, we can make it straight by pressing the Shift key on the keyboard while we drag the cursor to attain the desired length.
Customize a line
After we draw a line, we can customize it through any of the following:
- Right-click the line and choose from the menu. We can change the connector type or format the line color, style, size, position, etc.
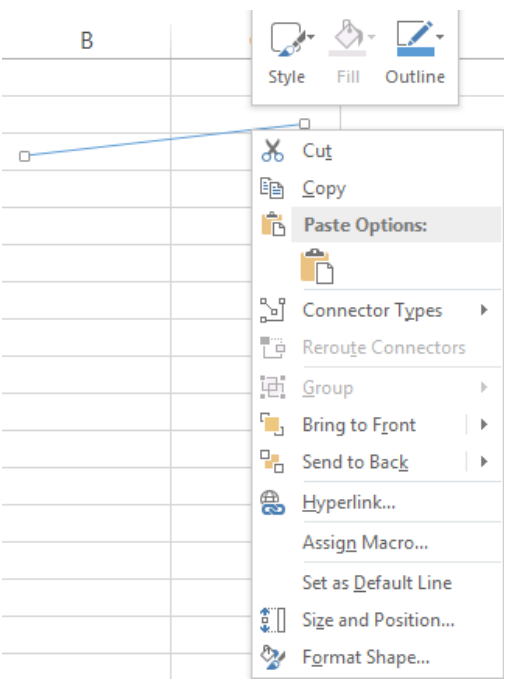 Figure 6. Line menu options
- The connector types to choose from are Straight, elbow or Curved
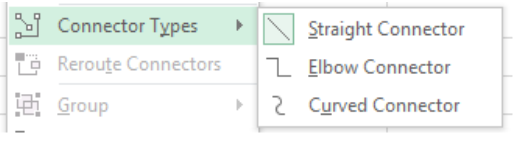 Figure 7. Connector type options
- We can choose from the built-in pre-set styles or format the line color, weight and dash style.
 Figure 8. Line style options
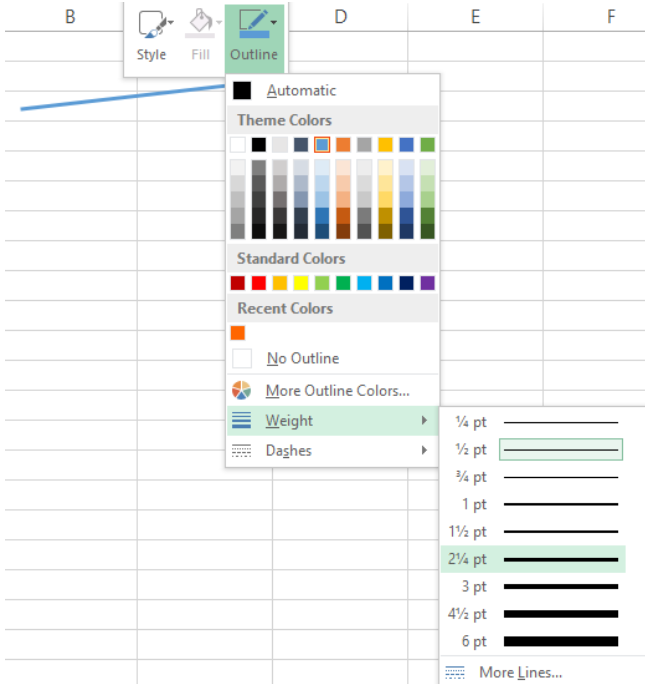 Figure 9. Line weight options
 Figure 10. Line dashes options
- For more formatting options, we can select Format Shape after we right-click the line to launch the Format Shape dialog box.
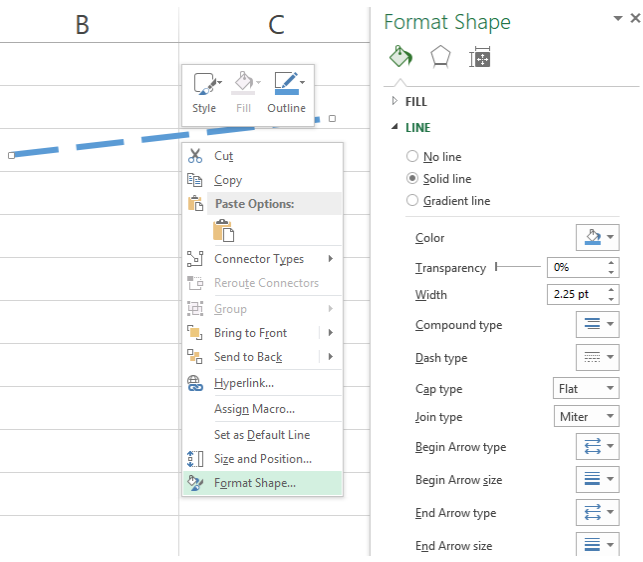 Figure 11. Format Shape dialog box
Format Shapes offers all the formatting options that we need when we draw a line such as line color, weight and types, shadow or glow effects, 3D rotation, size and properties.
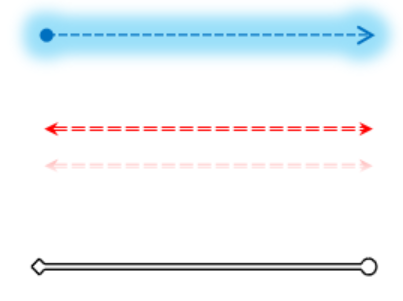 Figure 12. Output: Draw and customize lines
Instant Connection to an Excel Expert
Most of the time, the problem you will need to solve will be more complex than a simple application of a formula or function. If you want to save hours of research and frustration, try our live Excelchat service! Our Excel Experts are available 24/7 to answer any Excel question you may have. We guarantee a connection within 30 seconds and a customized solution within 20 minutes.


Leave a Comment