

Most of the time, we don’t need to print out all the data in our file. We only need specific parts that make sense and show the data and results we need. By default, Excel prints the active worksheet, regardless of the number of rows and columns.
When we want to print only selected cells in a worksheet, we can set the print area prior to the actual printing.
Print selection
Suppose we have a list of countries as shown below and we only want to print the North American countries in columns B and C.
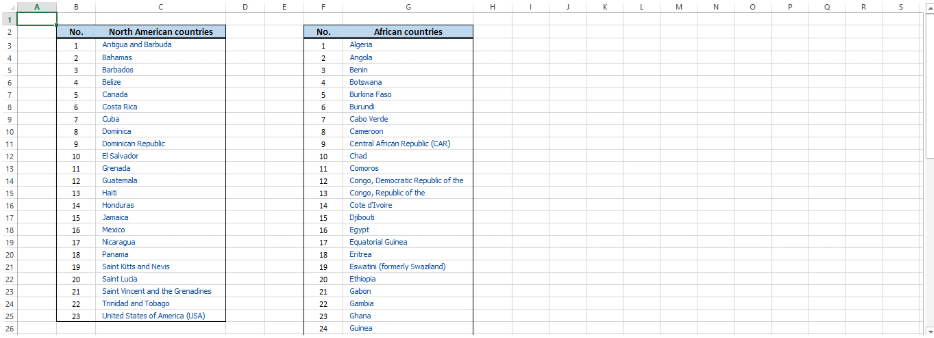 Figure 1. Sample data for print selection
- On the worksheet, we select the cells that we want to print (B2:C25)
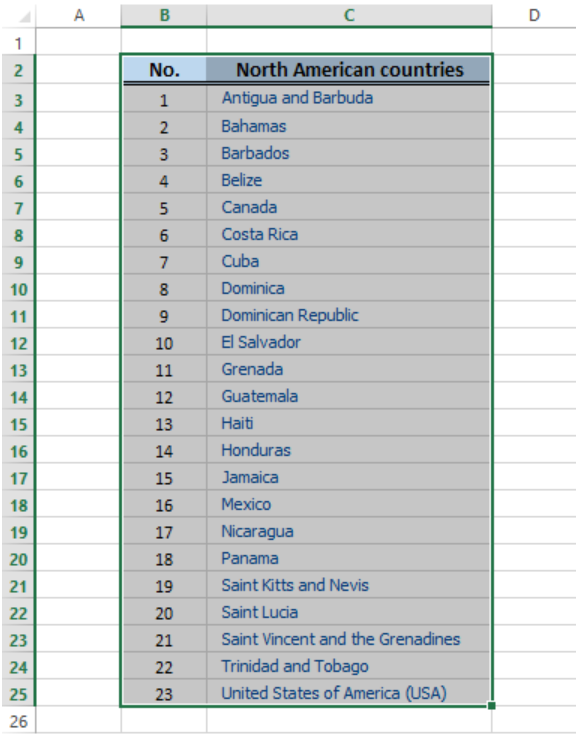 Figure 2. Selecting the cells to print
- Click Page Layout tab > Print Area > Set Print Area
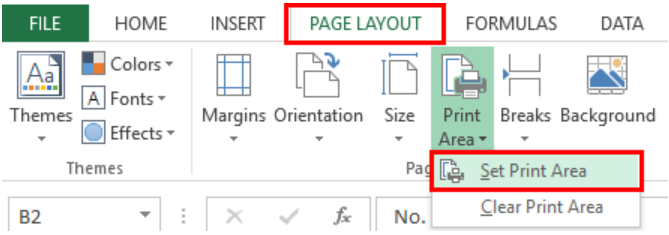 Figure 3. Set Print Area option
We have now set the print area, which means that we are going to print only the selected cells B2:C25.
Tip:
If we want to print non-adjacent cells, we can set multiple print areas by holding down the Ctrl key while we click the cells we want to print.
How to print selected cells
In order to print the selected cells, we only have to click File > Print or press the keyboard shortcut Ctrl + P to launch the Print settings
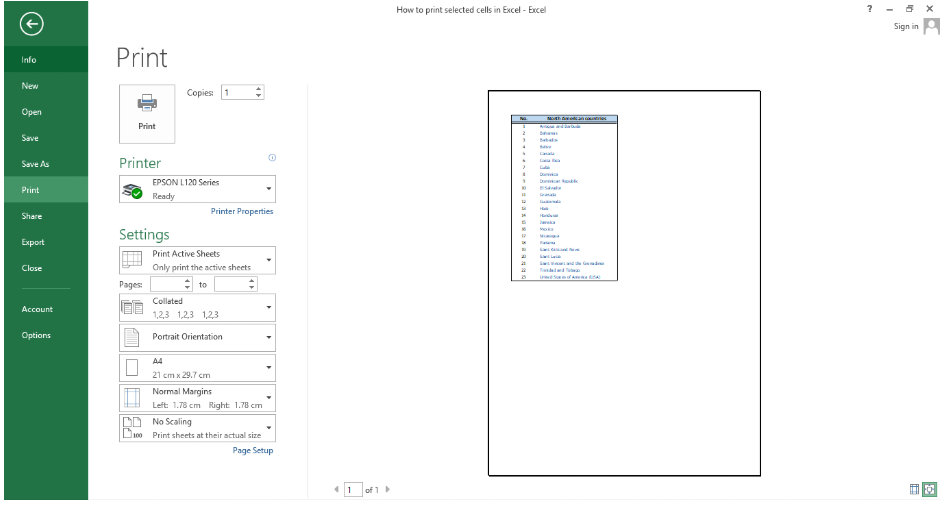 Figure 4. Print settings preview
A preview is displayed at the right side of the Print window. If the preview shows how we want the selected cells to be printed, we can then click the Print button to proceed with printing.
How to print certain columns
Excel also allows us to print columns in our worksheet. We simply have to select the columns, set as print area, then print.
Example:
We want to print columns F and G below, with a list of 36 African countries. We follow these steps:
- Select columns F and G by hovering the cursor over the column name with letter “F”, then click and drag the cursor to the column letter “G”
- Click Page Layout tab > Print Area > Set Print Area
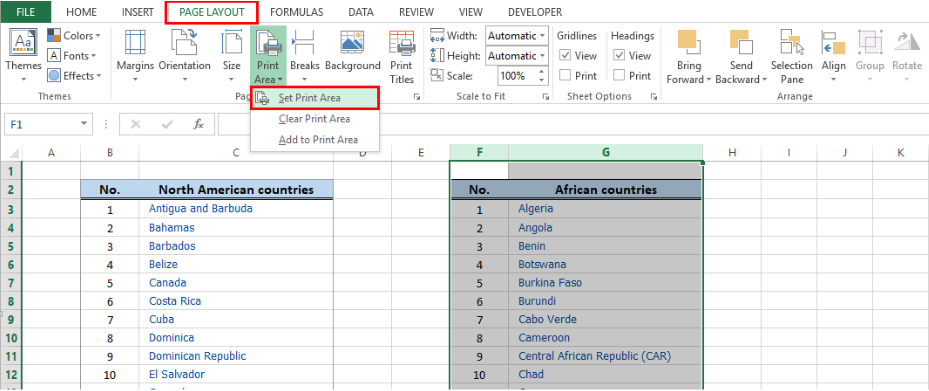 Figure 5. Select columns and set print area
- Click File > Print or press the keyboard shortcut Ctrl + P
We will be able to print up to the last entry in the selected columns, which is row 38 for this example. Because the list is too long, it will take more than one page to print columns F and G. The Print preview will show how the pages will be printed.
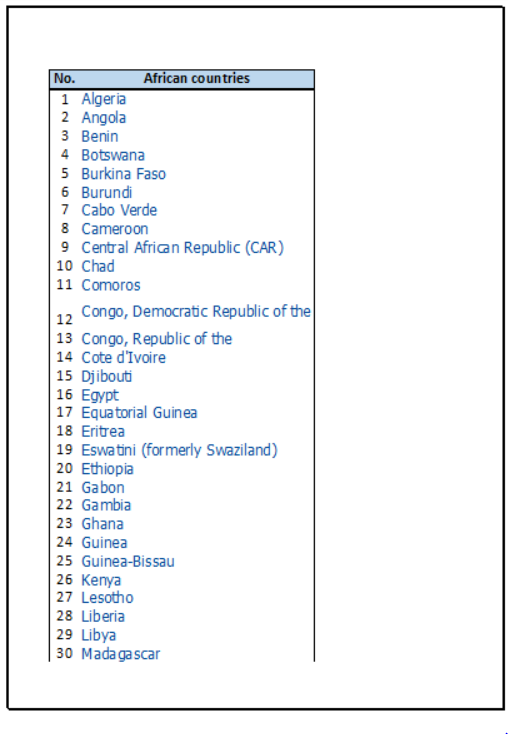 Figure 6. Print preview: page 1 of 2
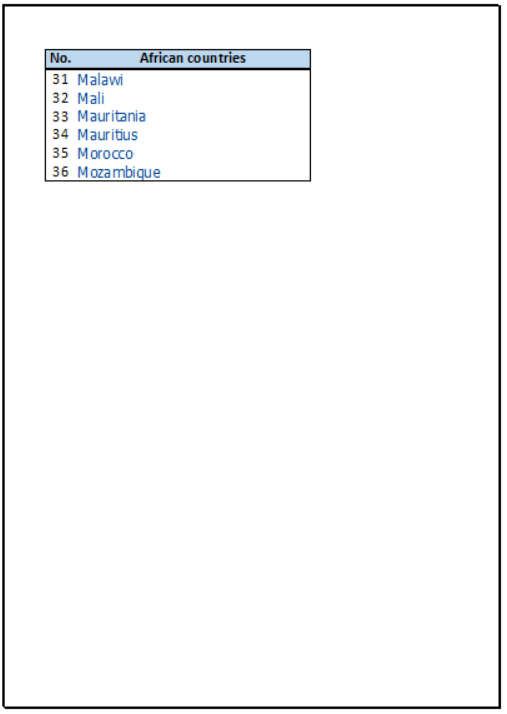 Figure 7. Print preview: page 2 of 2
At this point, we can perform adjustments in the print settings like adjusting Scaling to Fit to Page in Page Setup so that the list is printed in only one page. We can also keep the columns printed in two pages but we can set the print title to repeat row 2 such that both pages display the row headers.
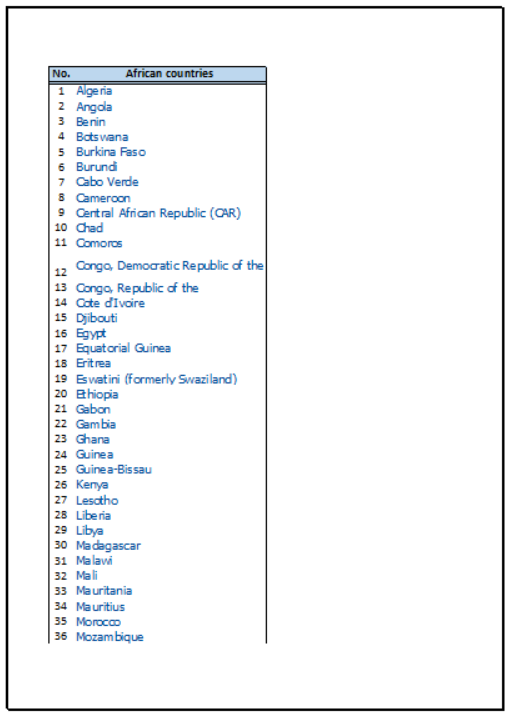 Figure 8. Output: How to print selected columns
Instant Connection to an Excel Expert
Most of the time, the problem you will need to solve will be more complex than a simple application of a formula or function. If you want to save hours of research and frustration, try our live Excelchat service! Our Excel Experts are available 24/7 to answer any Excel question you may have. We guarantee a connection within 30 seconds and a customized solution within 20 minutes.


Leave a Comment