
We can use queries to extract data from all kinds of data sources. In many cases, it is a more efficient tool than using VBA Macro or formulas. In this tutorial, we will learn how to retrieve data using query from a workbook, Microsoft Access, and many other Microsoft SQL Server tables.
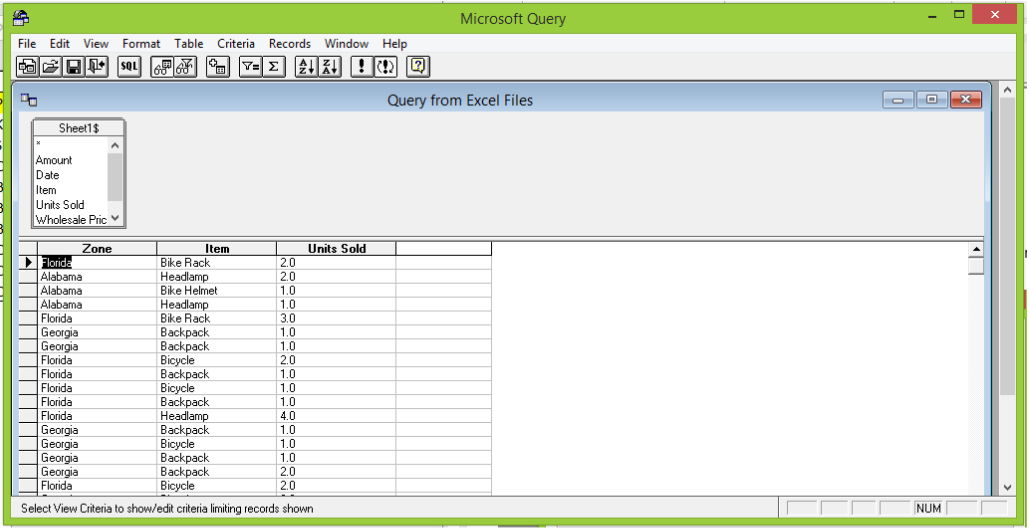 Figure 1 – Writing query
Using the Microsoft query tool
- In our open Excel document, we will click on Data in the ribbon tab and select From Other sources. If we are using Excel 2016, we will click on Get External Data directly from the Data tab
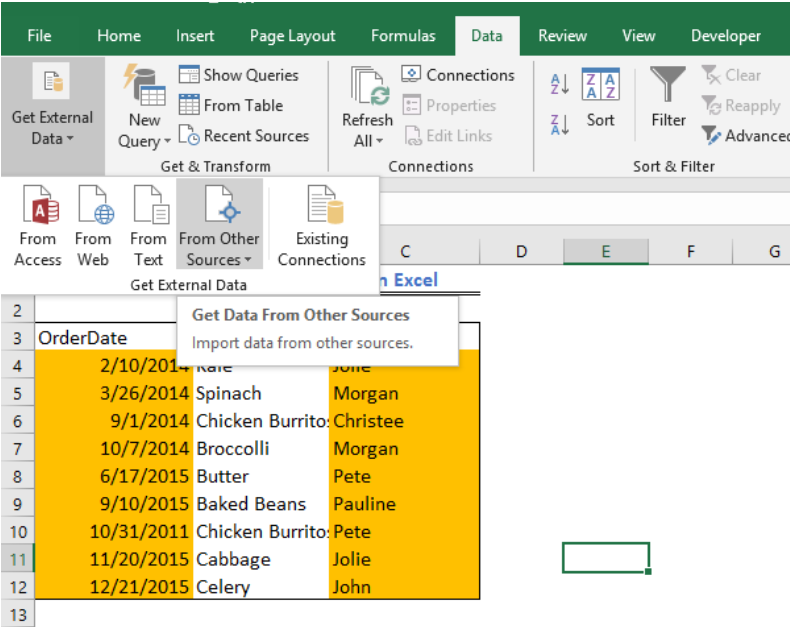 Figure 2 – Microsoft query wizard
- In the drop-down list, we will select From Microsoft Query
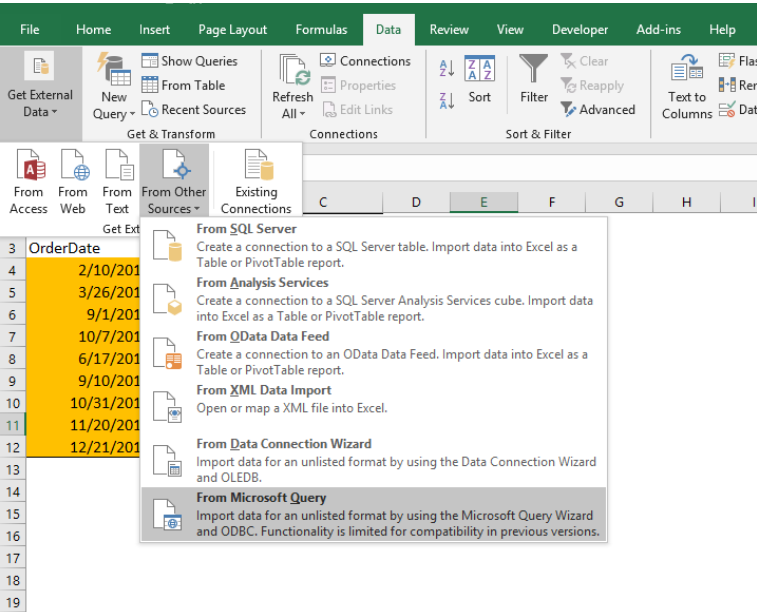 Figure 3 – Microsoft query tool
- In the Choose Data Source dialog box, we will specify the location of our file. In our example, we want to locate a file, so we will click on files.
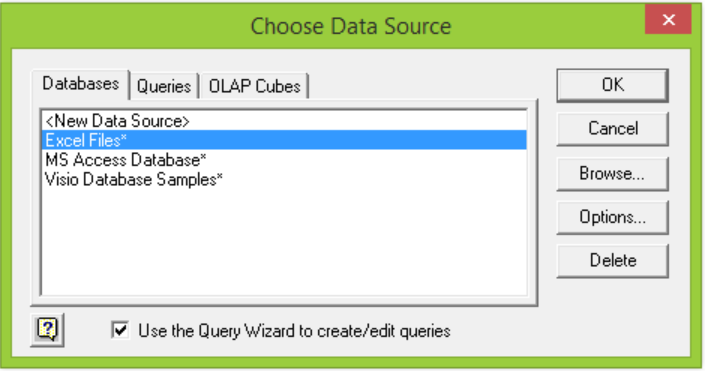 Figure 4 – Query access
- Next, we will select the file that will be our source for the Microsoft Query.
 Figure 5 – Ms query download
- We will be asked to pick the columns we want to include in our MS query
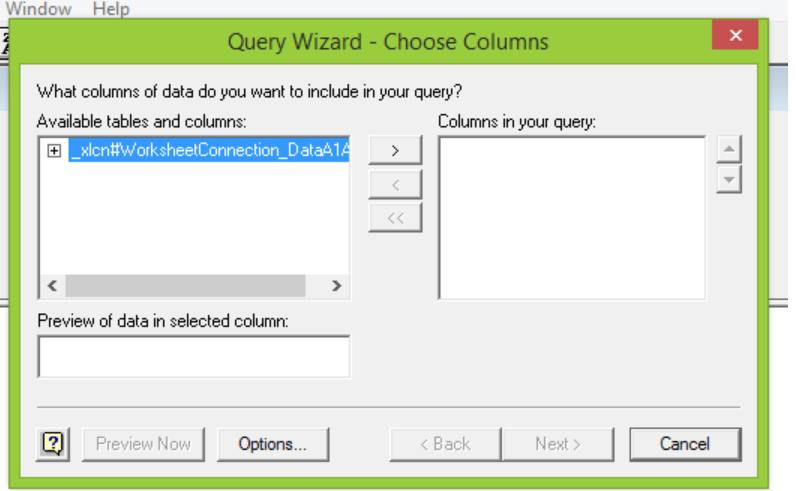 Figure 6 – Querying spreadsheet
- We will click on the columns we want to include and select Next
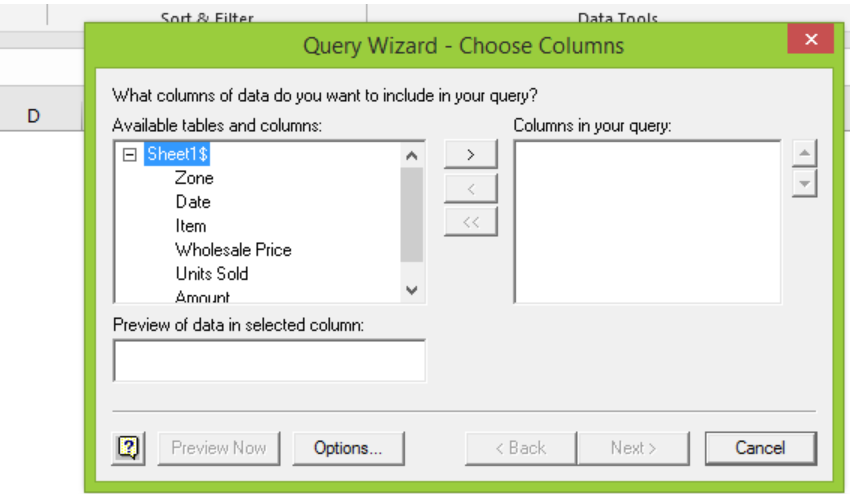 Figure 7 – Microsoft query tool
- We can filter how we want our data to appear in the next dialog box.
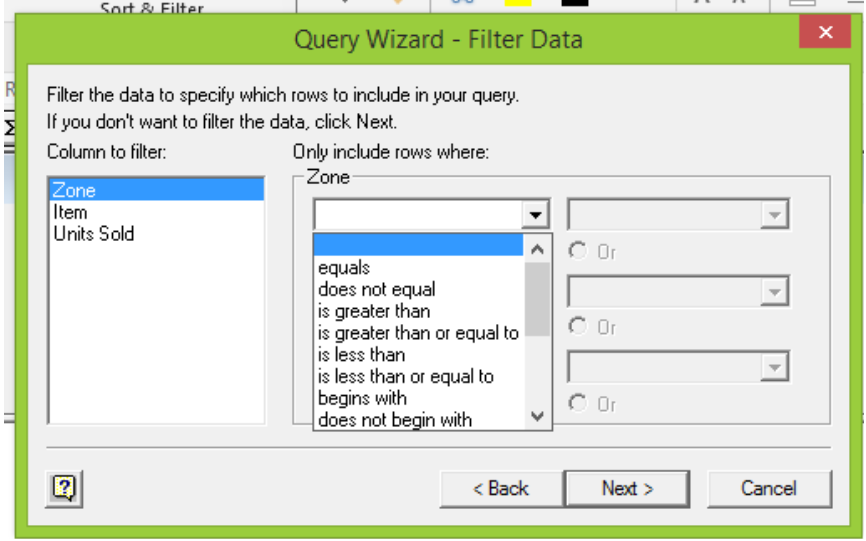 Figure 8 – Querying spreadsheet
- Next, we will be asked to sort our data. If we don’t want to edit yet, we can click Next
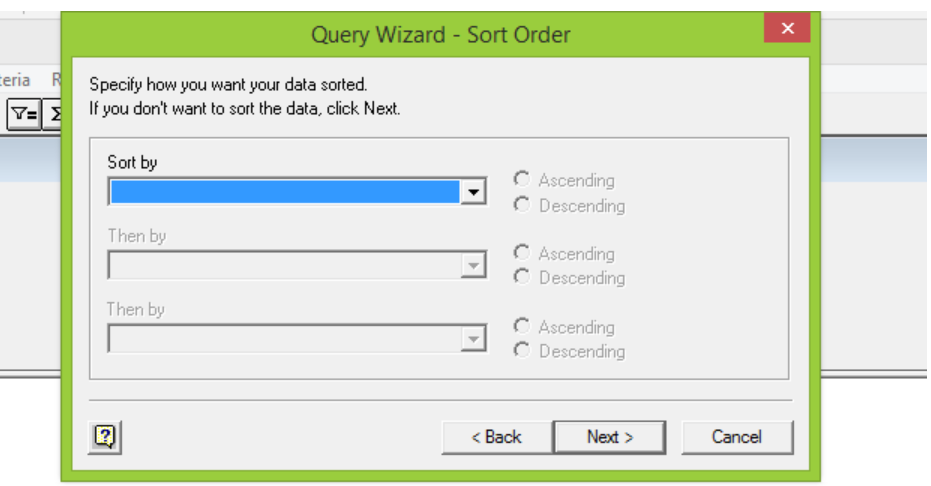 Figure 9 – How to use query wizard
- The Query Wizard will return with two options. We can either return data to Microsoft Excel or view data or edit query in Microsoft Query
 Figure 10 – Excel query
- If we selected the View data or edit query in Microsoft Query option, we can open the SQL Edit Query window by clicking on the SQL button
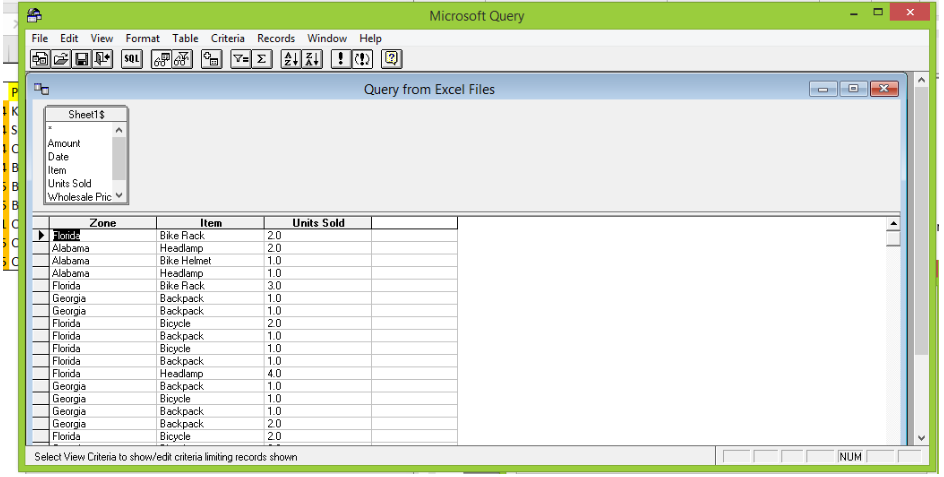 Figure 11 – Using the Microsoft Excel Query
- When we are done with the edit, we will click on the return button (the open door button as shown below)
 Figure 12 – Use the return button to exit the Microsoft Query
- After modifying our SQL statement, we will click on return data button in the Microsoft Query window.
- Then, in the Import Data dialog box, we can select how we want to view the data and where we want to put the data.
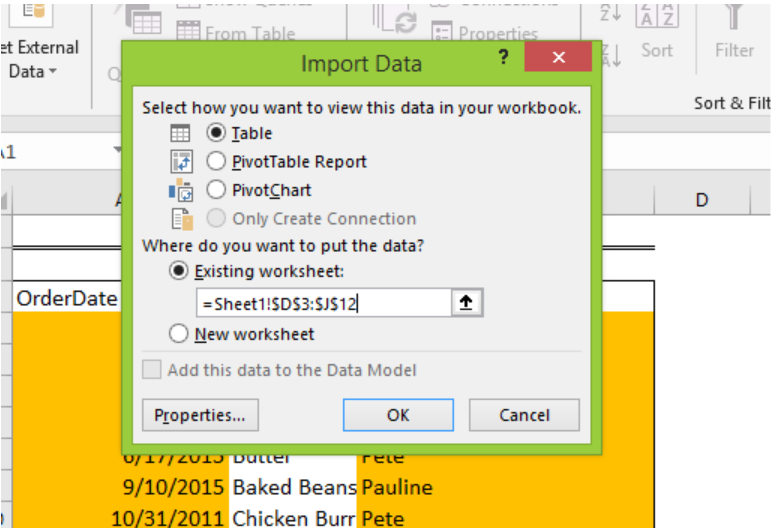 Figure 13 – Select how you wish to view your data
- Lastly, we will click OK
- The result of our query will appear in the new Excel table. Now, we can edit and modify our new table
 Figure 14 – Result from using the MS query
Instant Connection to an Excel Expert
Most of the time, the problem you will need to solve will be more complex than a simple application of a formula or function. If you want to save hours of research and frustration, try our live Excelchat service! Our Excel Experts are available 24/7 to answer any Excel question you may have. We guarantee a connection within 30 seconds and a customized solution within 20 minutes.


Leave a Comment