

While Excel is generally used for calculation and data analysis, there are cases where we have to insert a picture into a cell as part of our data, or as an additional information.
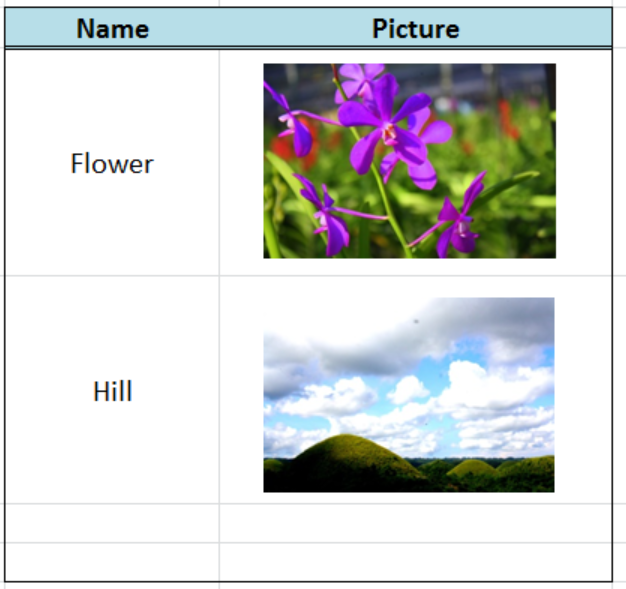 Figure 1. Final result: Insert a picture in a cell
Inserting a picture in a worksheet
We can easily insert images by using the Insert Picture tools.
Step 1. Click Insert tab, then Picture
 Figure 2. Insert Picture Tools
Step 2. The Insert Picture dialog box will appear. Tick the picture we want to insert and click Insert.
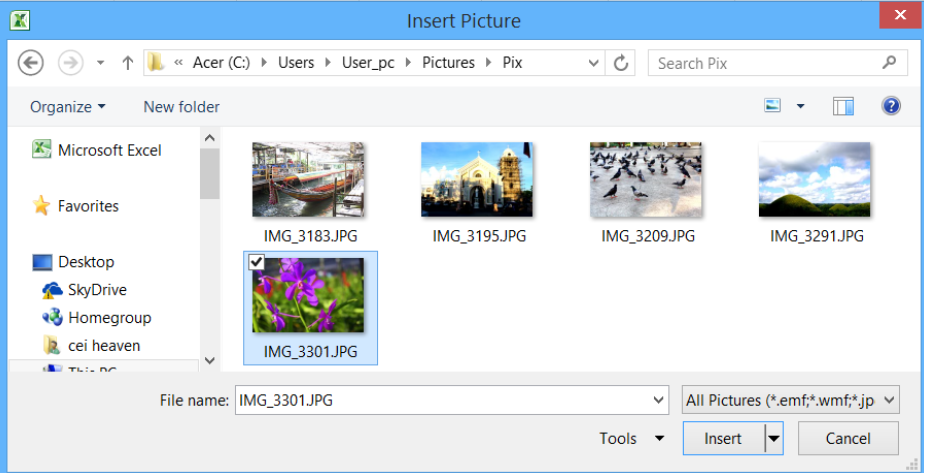 Figure 3. Insert Picture preview pane
The selected picture will be inserted into the worksheet.
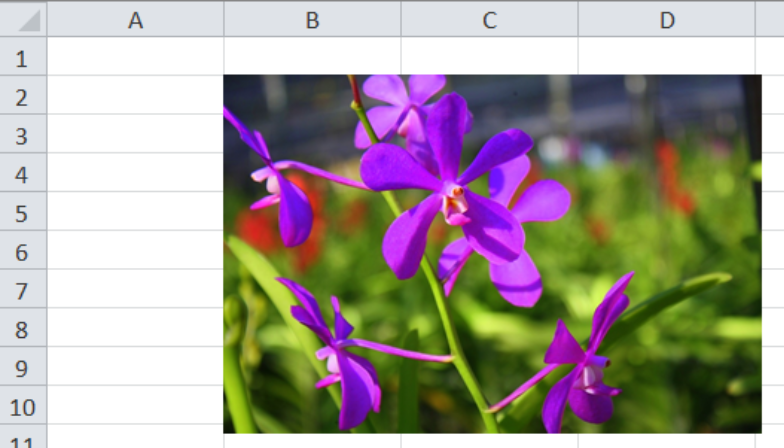 Figure 4. Output: Inserting a picture
Inserting multiple pictures
In order to insert several images at the same time, press and hold the Ctrl key while selecting the pictures to insert, then press Enter or click Insert.
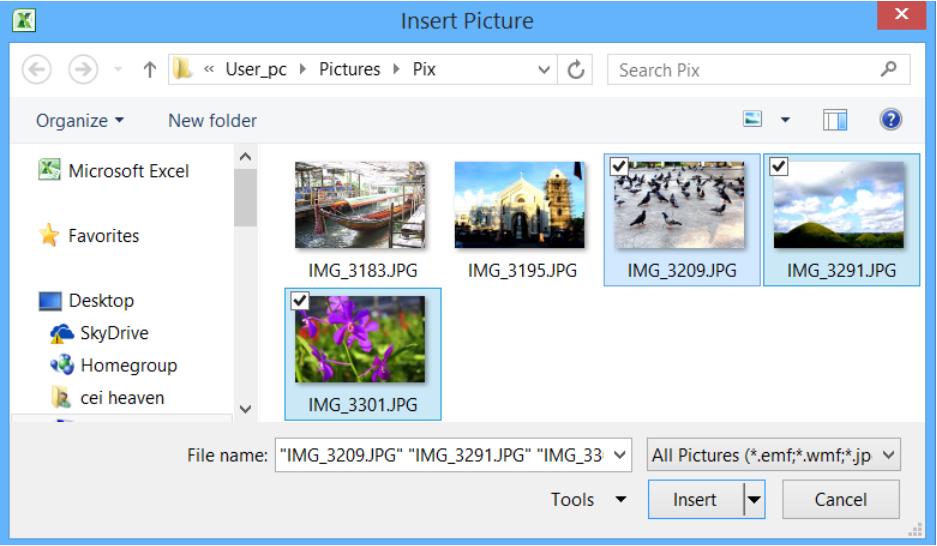 Figure 5. Selecting several images to insert
All three selected images will be inserted into the worksheet at the same time.
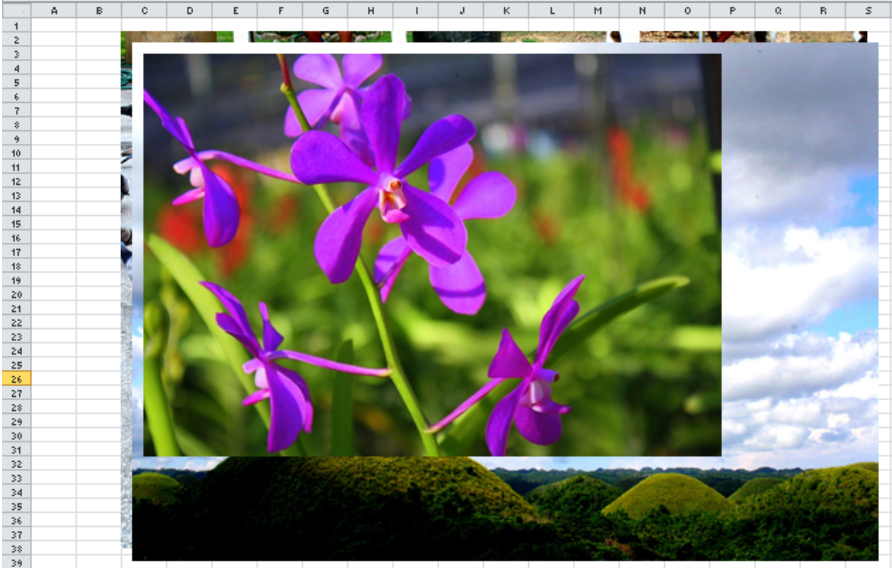 Figure 6. Output: Inserting multiple pictures
Keyboard Shortcuts
Ctrl + C to copy image
Ctrl + V to paste image
When inserting a picture from another program or application, we can make use of the keyboard shortcuts to copy and paste an image. Simply click the picture in another program like Word or Paint, and press Ctrl + C. Then go to Excel and press Ctrl + V.
Inserting a picture into a cell
When inserting a picture, the picture is by default independent of the cells. Moving or resizing the cells will have no effect on the picture. In order to embed the picture into the cell, we can change the picture’s properties through these steps:
Step 1. Right-click the picture and select Format Picture.
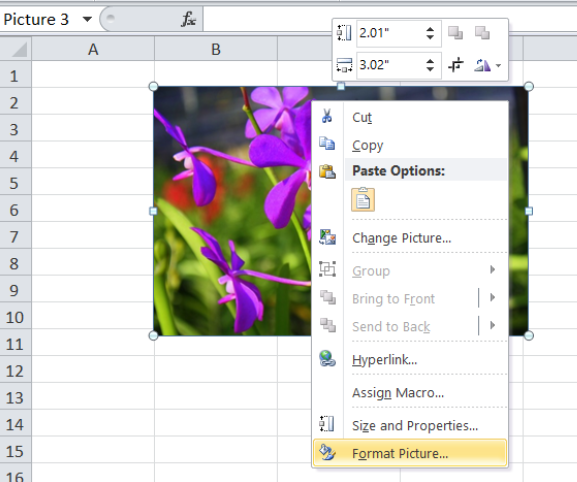 Figure 7. Selecting Format Picture
Step 2. The Format Picture pane will appear. Click Properties and tick Move and size with cells
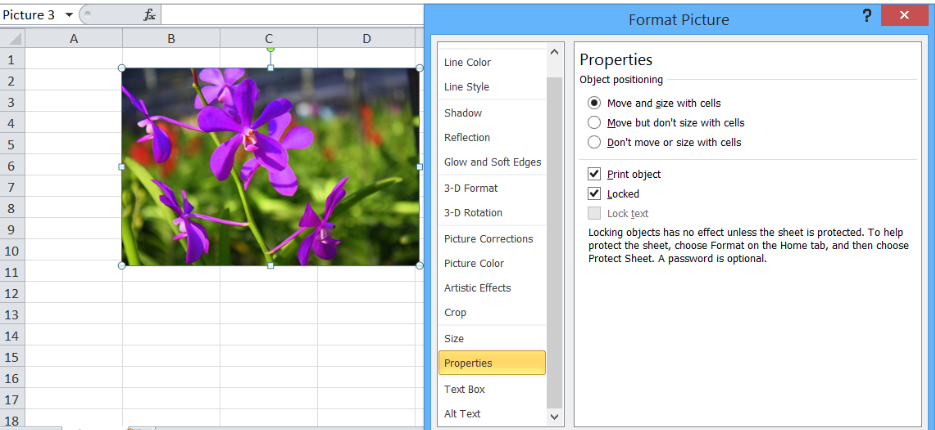 Figure 8. Format Picture preview
The position and size of the picture will now be affected when we adjust the cells.
Example 1:
When we increase the cell width of column B, the picture also expands with the cell.
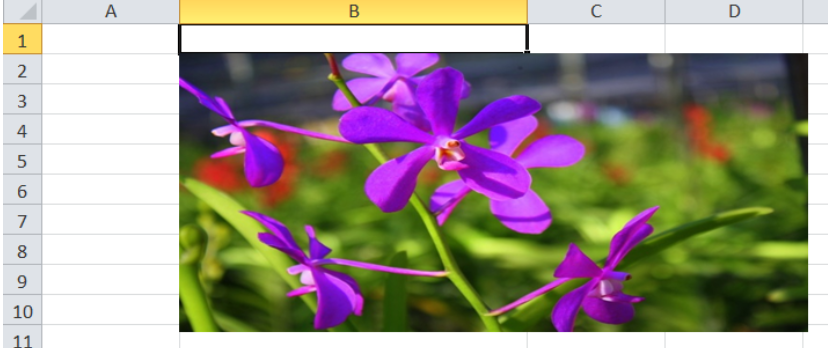 Figure 9. Picture size and positioning goes with the cell
Now that we have locked the image to the cell, we can actually organize text and pictures such that the picture fits only one cell, with a corresponding label or category in another column.
Example 2:
 Figure 10. Output: Inserting pictures into a cell
Instant Connection to an Excel Expert
Most of the time, the problem you will need to solve will be more complex than a simple application of a formula or function. If you want to save hours of research and frustration, try our live Excelchat service! Our Excel Experts are available 24/7 to answer any Excel question you may have. We guarantee a connection within 30 seconds and a customized solution within 20 minutes.


Leave a Comment