

Excel allows us to group worksheets together so we can perform tasks quickly on multiple worksheets simultaneously.
Changes made in one worksheet are also effected at the same location on the other Excel worksheets.
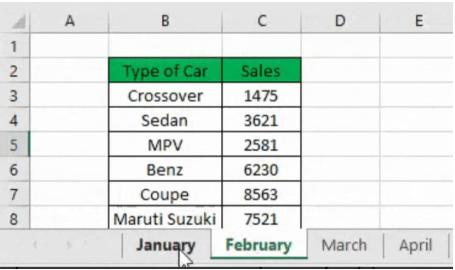 Figure 1. of Group Worksheets in Excel
By default, every Excel workbook contains at minimum of one worksheet. When working with larger amounts of data, we can group worksheets to help organize our workbook by make it easier input to find content.
How to Group Worksheets in Excel
Let’s assume that some employees are supposed to receive training after every five months.
We will now demonstrate how to group worksheets in Excel for those employees.
Whenever we include the names of any employees to a worksheet, they will also be added into the remaining worksheets in the group.
- Select the first spreadsheet we seek to include in our worksheets grouping.
 Figure 2. of Group Worksheets in Excel
- Hold down the “Ctrl” key (keyboard) and select another worksheet which we want included in the worksheet group. Continue selecting worksheets until we have the required amount of worksheets for our group;
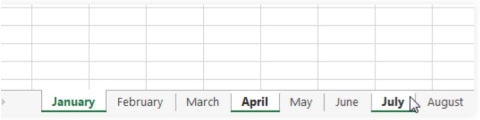 Figure 3. of Group Worksheets in Excel
- Release the “Ctrl” key. Our worksheets have now been grouped.
Note
if we select any worksheet that’s not part of our worksheet grouping, all of our worksheets will be ungrouped.
How to ungroup worksheets in Excel
Simply right-click on any worksheet in our group, and then select the “Ungroup Sheets” option from the spreadsheet menu:
 Figure 4. of Ungroup Worksheets in Excel
The worksheets will become ungrouped:
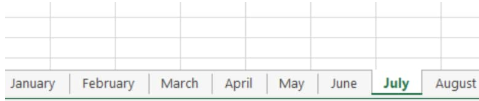 Figure 5. of Ungrouped Worksheets in Excel


Leave a Comment