

When working with spreadsheets, a time comes when we have to group data together. We can group columns based on various criteria, such as the heading or even contents of the columns. Usually, when we group adjacent cells, the group function will simply condense them into one group.
Below is a procedure on how to group columns;
Step 1: Prepare the spreadsheet with the columns that we want to group
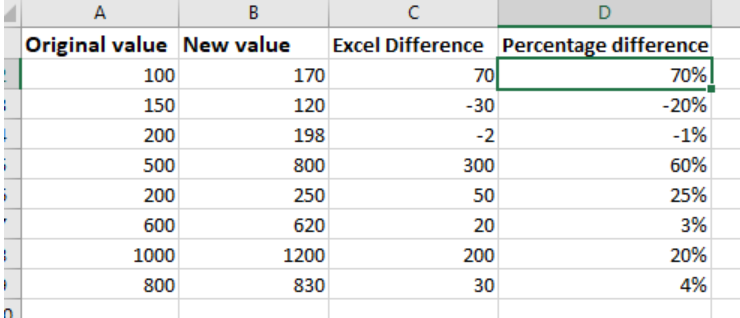
Figure 1. Step 1
Step 2: Select the columns we want to group
The next thing we need to do in order to group columns is to select the columns we want to group. Selecting the columns to group is an easy task as all we have to do is click the letters at the top of the columns while holding down the Ctrl key. And as we select, we’ll be sure not to select the cells or columns that we don’t want to collapse. Headings, labels and totals are among the things we should not collapse.
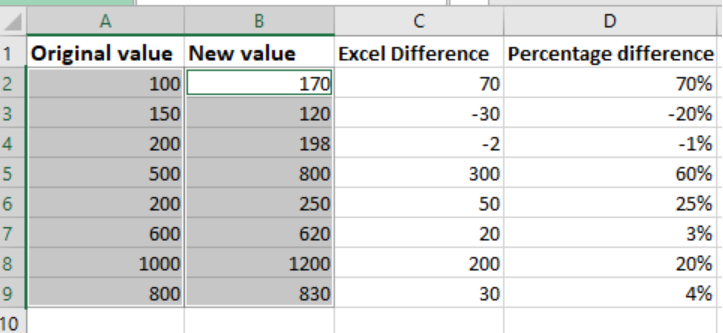
Figure 2. Step 2
Step 3: Click Group button in the ribbon toolbar
After selecting the columns we want to group, the next thing will be to head over to the toolbar ribbon, click Data and then click Outline group.
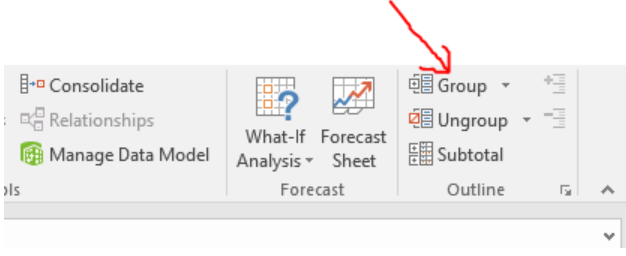
Figure 3. Data -> Outline group
This the easiest way of grouping.
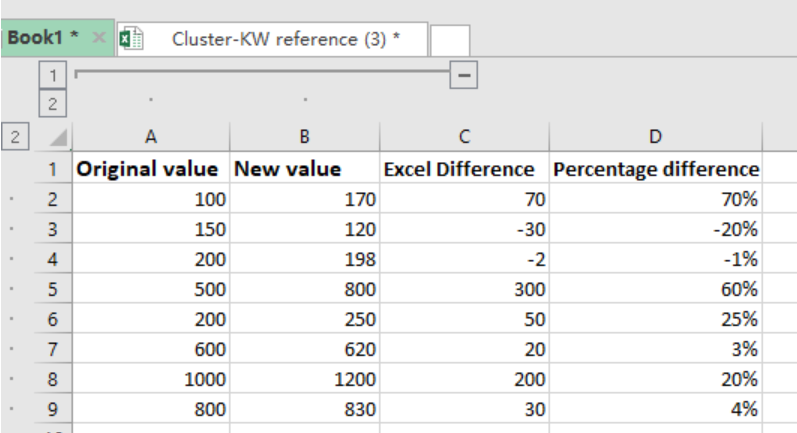
Figure 4. Output
In the figure above, we have grouped column A and B together.
We can also group columns automatically. This is especially the case when we have the same level of data in an Excel spreadsheet. The process of auto grouping goes through the same procedure as the one we have already outlined above.
But instead of clicking on the Group Icon in the ribbon, we click on the downward arrow to get the Auto fill command. auto group makes things easier when we want to automatically collapse or expand data in a given spreadsheet to enhance its display.
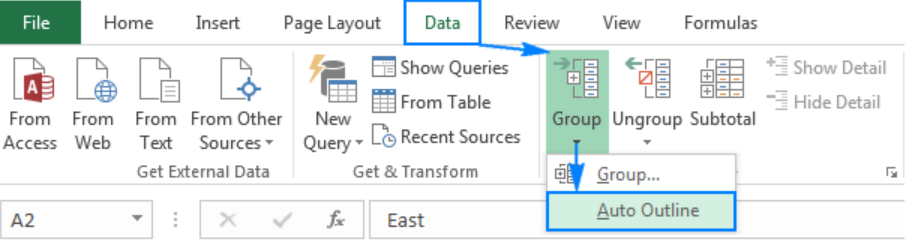
Figure 5. Data -> Group -> Auto Outline
And just like that, we will have all the columns selected grouped together as shown in the figure below;
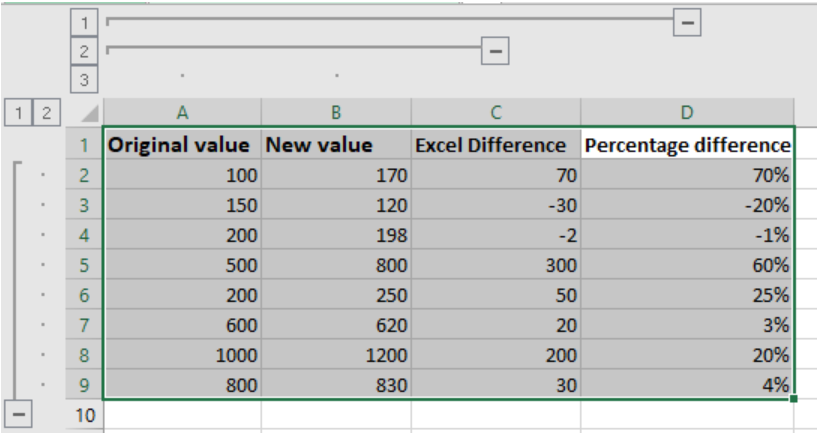
Figure 6. Output
After grouping the columns, we can collapse them so that only those that we want to display remain. To do this, click on the minus (-) sign at the top of the grouped columns. This will automatically hide the grouped columns.
If we want to expand the collapsed grouped data, all we have to do it click on the plus (+) sign and then we will have all of our data displayed again.
We can also group rows using the same procedure. However, grouping rows requires that we select the rows from the left side of the table. This is unlike when grouping columns where we have to select the columns from the top of the sheet.
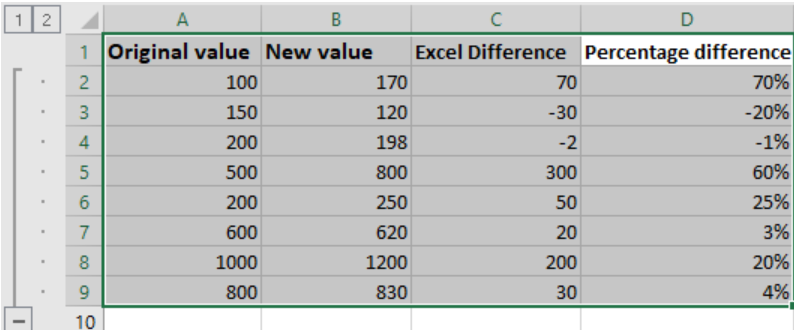
Figure 7. Final result
When we look at the left side of the figure above, we will see the collapse icon, which can be used to collapse the grouped rows.
An individual working in the financial sector, statistical firm or any other that will require him/her to group by column or row, then we have to understand how to group data. This is a standard procedure in most of these firms, and it helps them to make work easier.
And to simplify our work further, we need to have a glimpse of how auto grouping works. This technique will come in handy when we want to group a lot of data.
Most of the time, the problem you will need to solve will be more complex than a simple application of a formula or function. If you want to save hours of research and frustration, try our live Excelchat service! Our Excel Experts are available 24/7 to answer any Excel question you may have. We guarantee a connection within 30 seconds and a customized solution within 20 minutes.


Leave a Comment