

Worksheets in Excel are printed exactly as they are scaled. With the default scaling set to 100% normal size, a worksheet will most probably be printed on more than one page.
When we want to print a worksheet such that it fits on one page, we can make adjustments in page scaling under Page Setup. But first, we must learn how to print a worksheet.
Print a selected worksheet
Suppose we have below tables and chart and we want to print the worksheet.
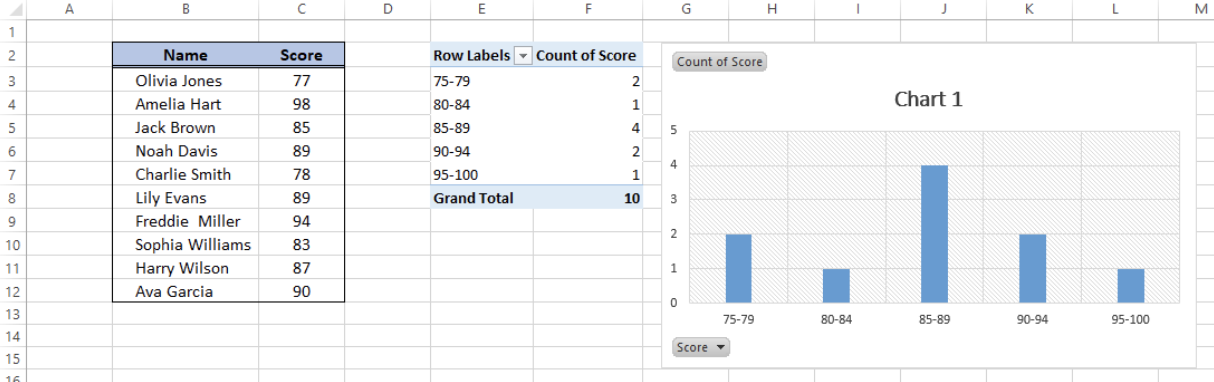 Figure 1. Sample data for fit to page
- Press Ctrl + P to launch the print settings and print preview.
In the image below, our worksheet will be printed into 2 pages, with the first page containing the tables and the second page containing the chart.
 Figure 2. Print preview for page 1 of 2
 Figure 3. Print preview for page 2 of 2
How to fit a sheet on one page
In order to fit an Excel worksheet into one page, we follow these steps:
- Press Ctrl + P
- Click Page Setup located at the lower portion of the settings
 Figure 4. Page Setup option in Print Settings
The Page Setup dialog box will appear, showing the default Scaling setting at 100% normal size.
 Figure 5. Page scaling default value at 100% normal size
- Tick Fit to: and click OK to fit to one page
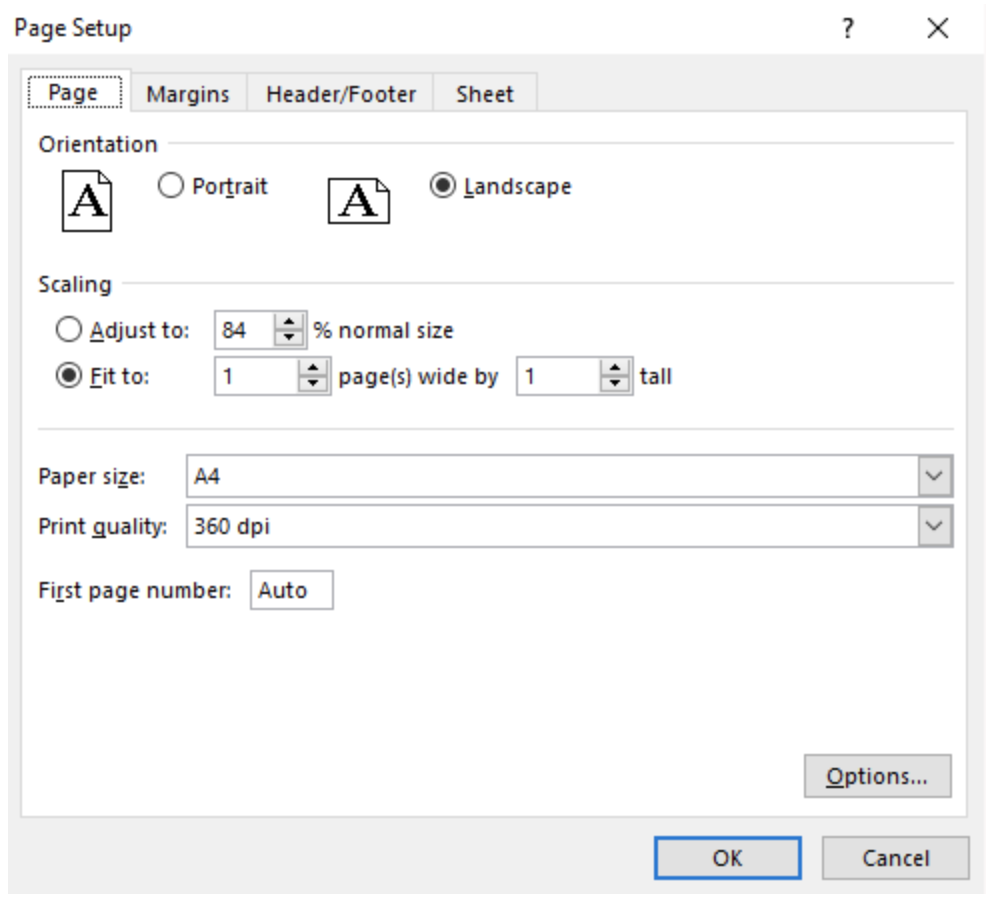 Figure 6. Fit to page in Page Setup
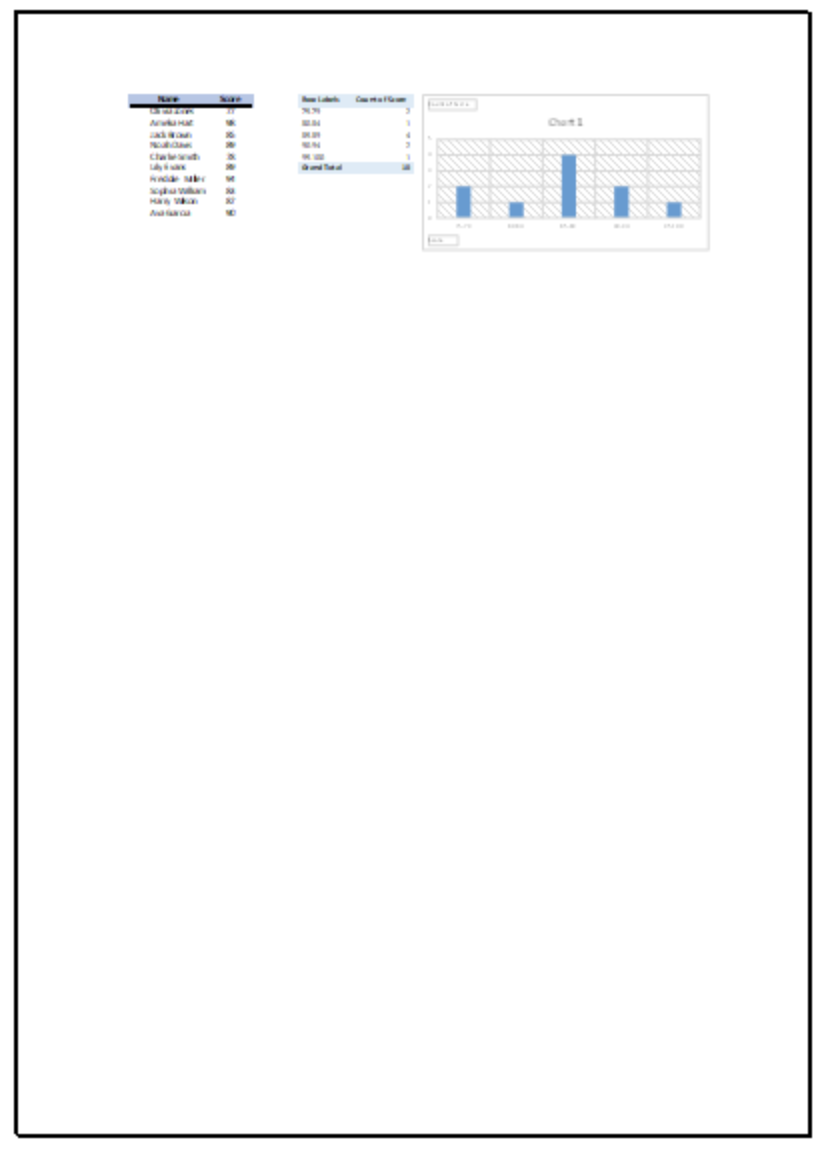 Figure 7. Output: Fit to page
For better visual presentation, let us change from Portrait to Landscape orientation under Print Settings.
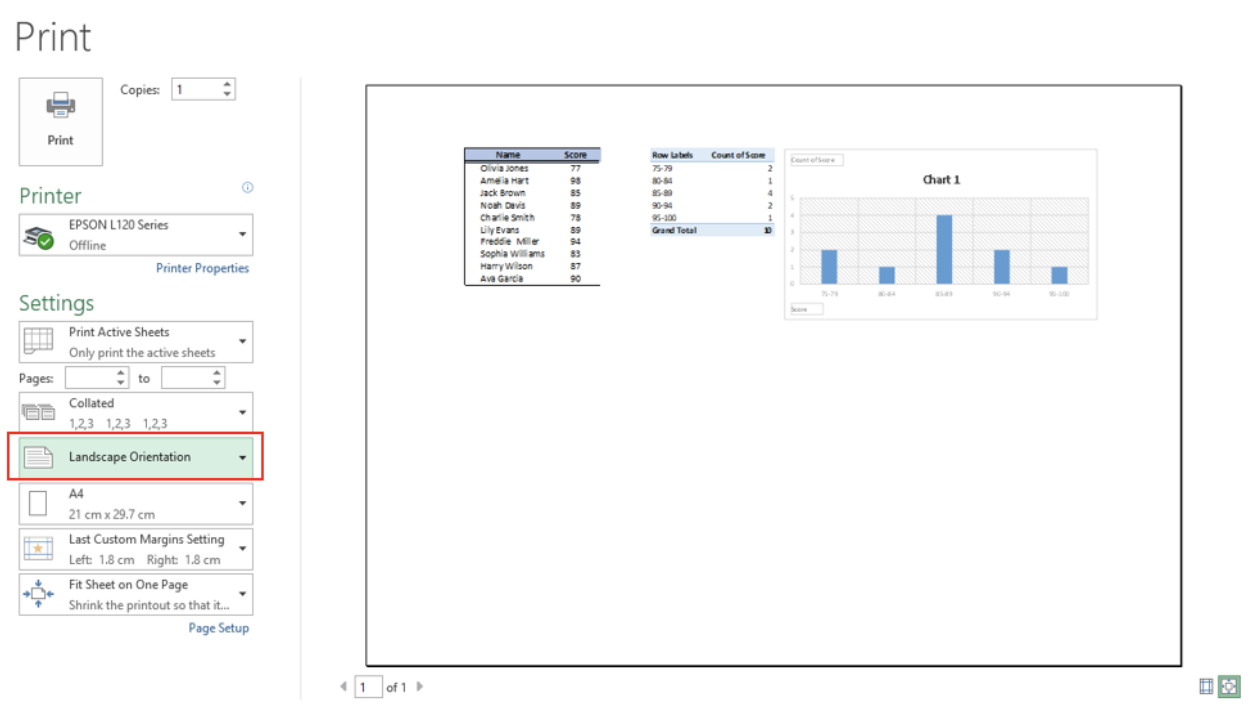 Figure 8. Landscape orientation
We have now successfully setup the selected worksheet to print on one page.
Print selected worksheets
It is possible to print multiple worksheets by:
- Pressing the Ctrl key and selecting the worksheets
- Pressing [ Ctrl + P ]
Example:
We want to print Sheet1 and Sheet2 as shown below. We press Ctrl and select the two sheets while holding the Ctrl key.
 Figure 9. Selecting the two sheets using Ctrl key
We know that both sheets Sheet1 and Sheet2 are selected when there is a solid green line under the sheet names.
 Figure 10. Both sheets selected
We can now print the selected worksheets.
How to print worksheets on one page
As discussed above, the default print settings in Excel are set to 100% normal size. Therefor, when we preview the two sheets Sheet1 and Sheet2 in our example, we come up with four pages.
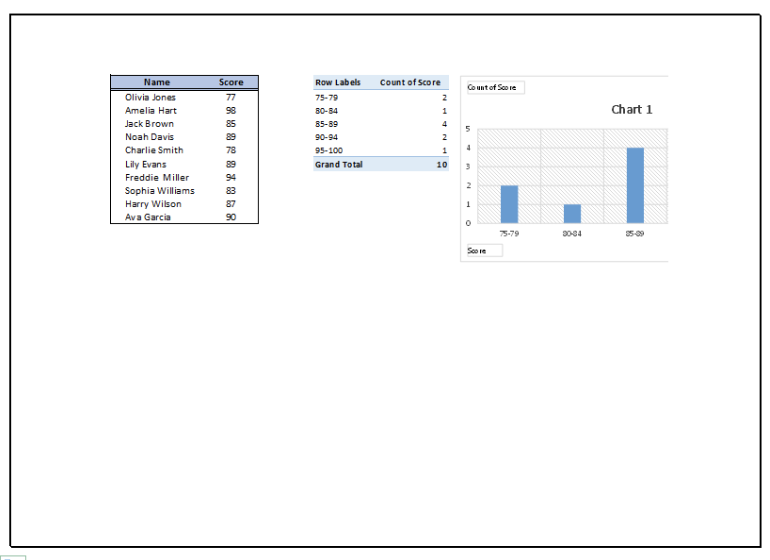 Figure 11. Print preview for page 1 of 4
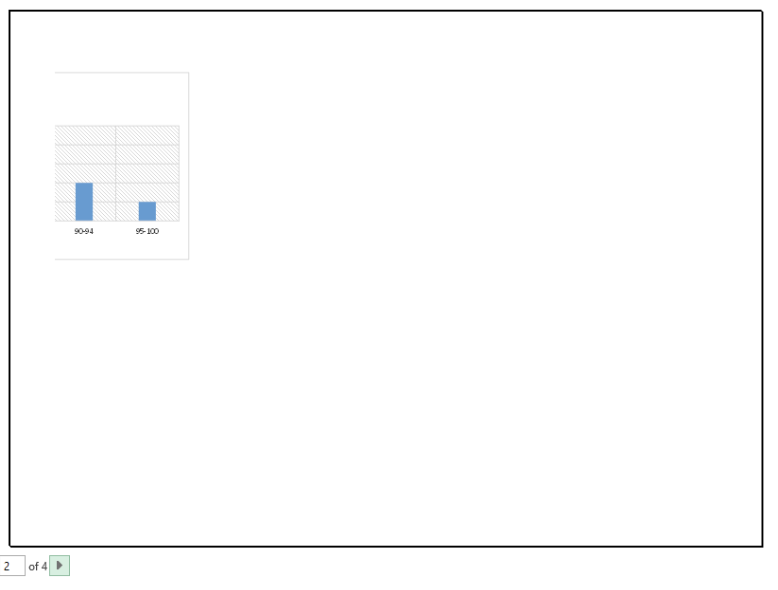 Figure 12. Print preview for page 2 of 4
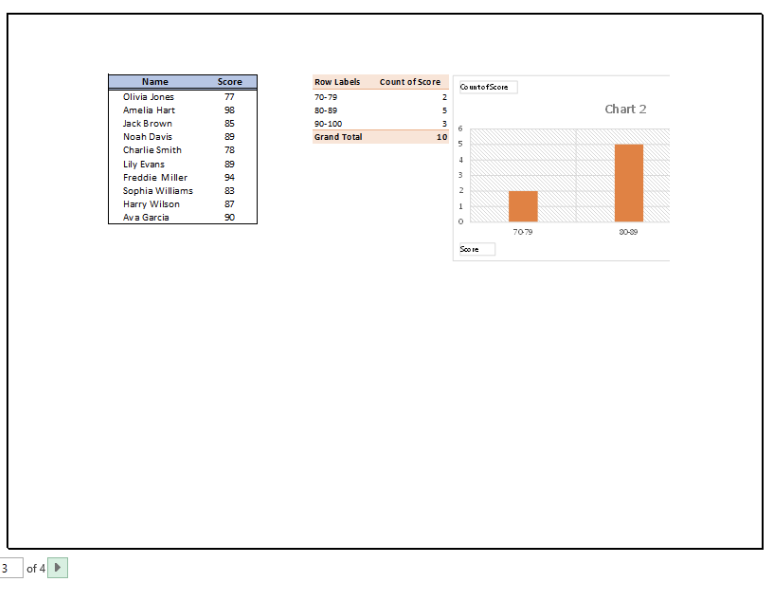 Figure 13. Print preview for page 3 of 4
 Figure 14. Print preview for page 4 of 4
We want to setup the selected worksheets so that they will each print on one page. We follow these steps:
- Select the worksheets we want to print, Sheet1 and Sheet2
- Press Ctrl + P
- Click Page Setup
- Click Fit to: and ensure that the textboxes are filled with 1 to represent 1 page(s) wide by 1 page tall
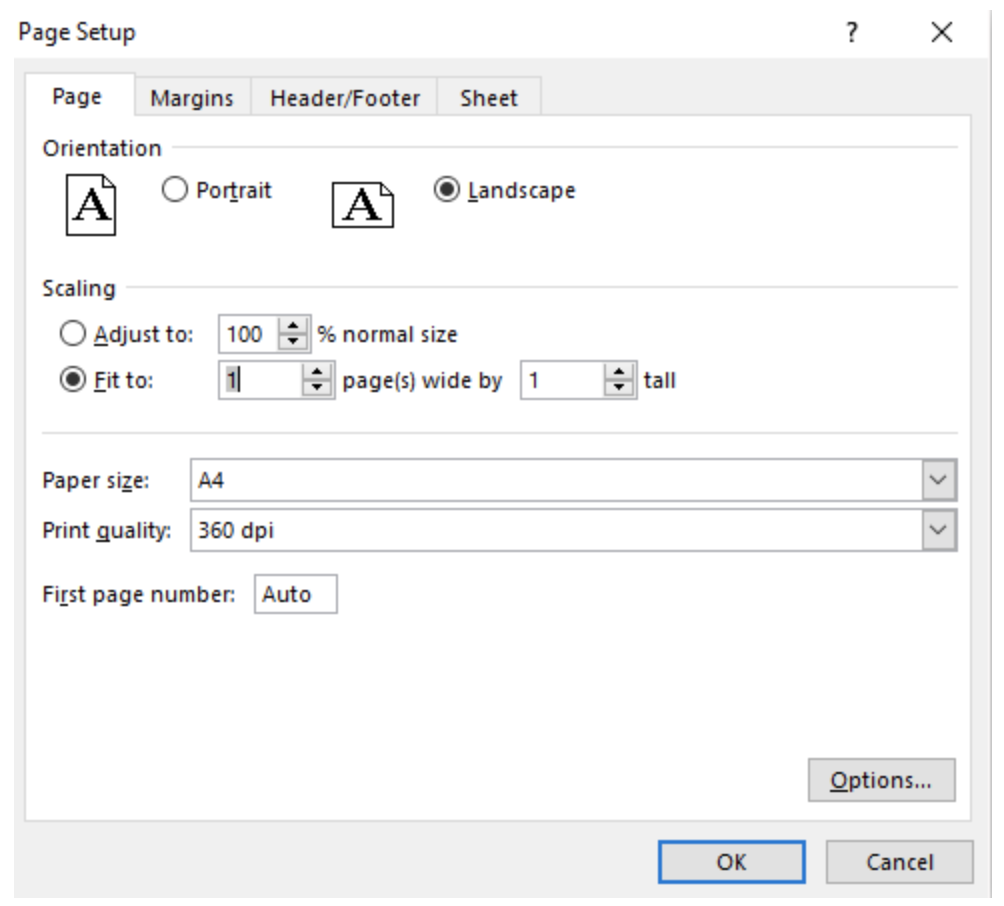 Figure 15. Fit to page scaling
- Click OK to reflect the changes
The Print preview will now show that we have successfully setup the selected worksheets so that they are printed on one page each.
 Figure 16. Output 1: Print worksheets on one page
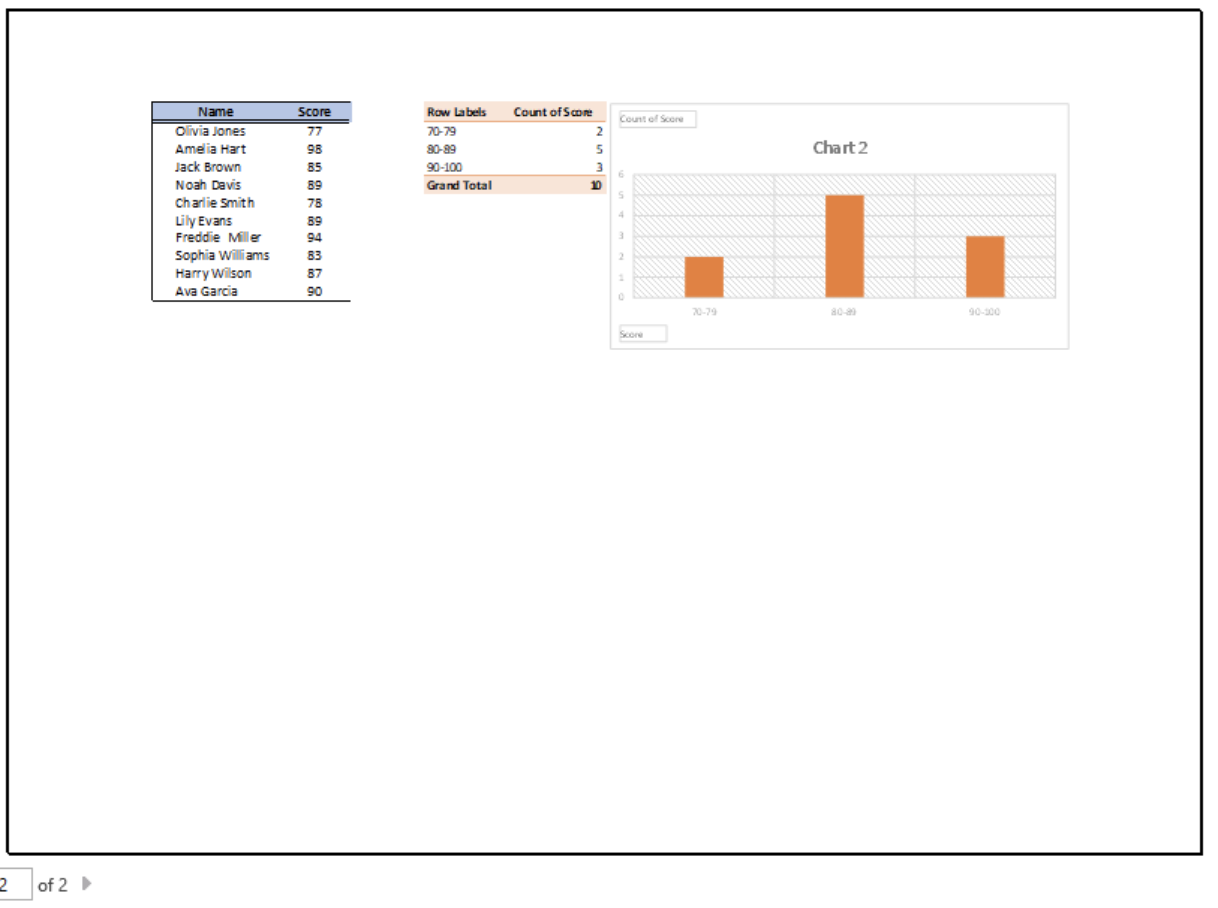 Figure 17. Output 2: Print worksheets on one page
- The only step left to do is to click the Print button to print the selected worksheets.
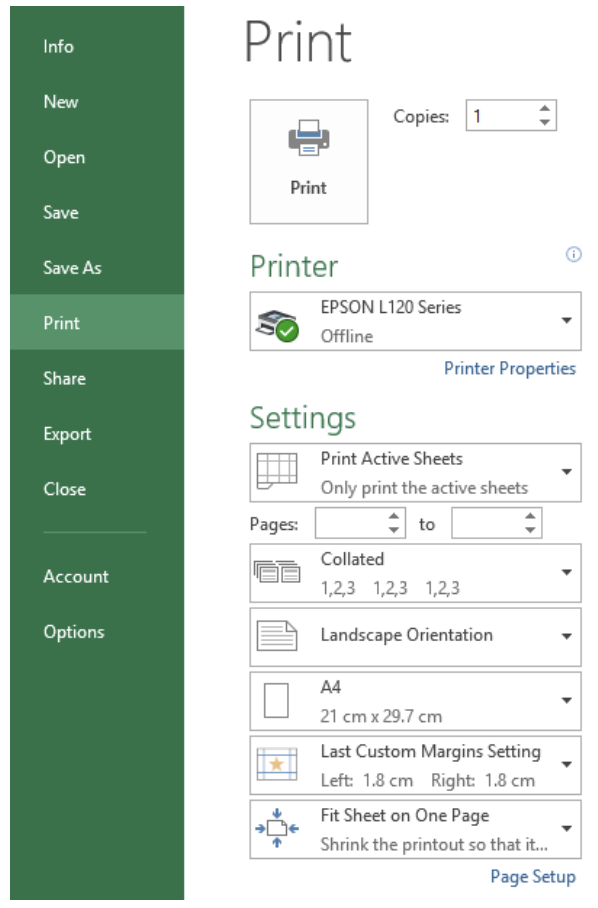 Figure 18. Print button in print settings
Shortcut to fit to page
There is an easier way to set up the selected worksheets so that they will each print on one page without using print preview.
We can actually make use of the Width and Height options in the Page Layout tab. The default setting is Automatic. We can fit any worksheet to one page by changing the value from Automatic to 1 page for both Width and Height.
 Figure 19. Width and Height scaling set to Automatic
 Figure 20. Width and Height scaling set to 1 page
Instant Connection to an Excel Expert
Most of the time, the problem you will need to solve will be more complex than a simple application of a formula or function. If you want to save hours of research and frustration, try our live Excelchat service! Our Excel Experts are available 24/7 to answer any Excel question you may have. We guarantee a connection within 30 seconds and a customized solution within 20 minutes.


Leave a Comment